Everyone dreams of setting up their own business one day and becoming their own boss. Here at Roland, we see hundreds of individuals realise their dreams every year and many of them are making money printing t-shirts.
But how do you print t-shirts? Is it hard to learn? Do you need a special t-shirt printer? How much would something like that cost? There are a lot of options out there but don’t worry – below, you’ll find several ways to customise t-shirts. Each method has its own advantages but by the time you’ve finished reading, you should be closer to deciding which option is best for you.
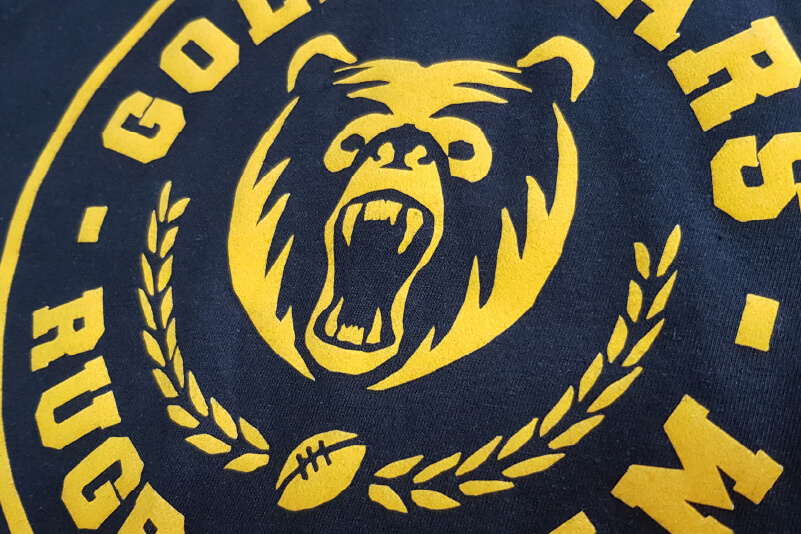
Cut Vinyl T-shirts
If you haven’t heard of cutting plotters (AKA vinyl cutters) before, prepare to fall in love! These simple and affordable devices let you cut practically any design out of coloured HTV (heat transfer vinyl), flock and a range of other materials.
Cutters are extensively used throughout the world of t-shirt personalisation, and they are at the centre of hundreds of clothing businesses. The process is easy to learn, and you can get great results by experimenting with different vinyls.
- Create your artwork using a vector design program like Adobe Illustrator, CorelDraw or Roland CutStudio.
- Feed your vinyl into the cutter and perform a cut test to calibrate the blade.
- Send your artwork to the cutter and let it cut your design.
- Remove the excess vinyl from the backing sheet using a weeding tool.
- Using transfer paper, move the cut design onto your t-shirt.
- Use a heat press to fix the vinyl to the fabric.
- Let the t-shirt and vinyl cool before removing the transfer paper.
Pros of Cut Vinyl T-shirt Printing
- Cutters are versatile and can be used to create other products
- The results are very durable
Cons of Cut Vinyl T-shirt Printing
- Space is required to prepare the t-shirt
- Designs are limited by the colours of vinyl available
Print and Cut HTV T-shirts
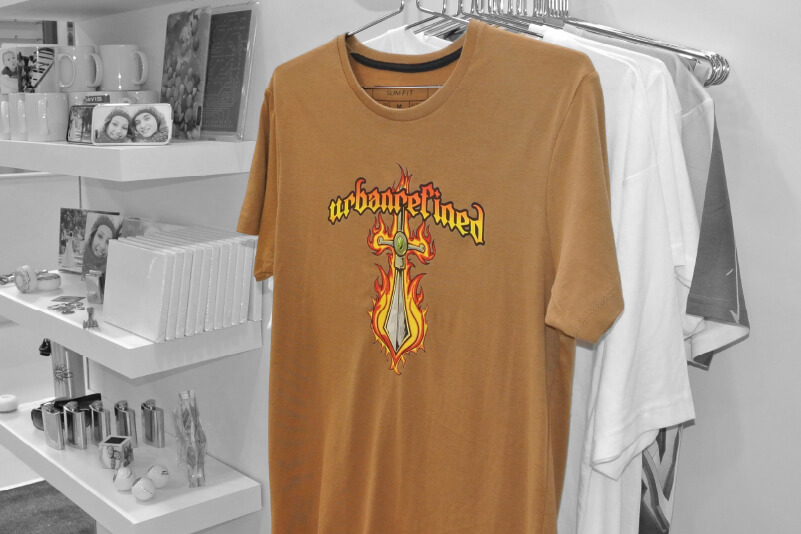
If you find cut vinyl a little limiting for your t-shirt designs, you’ll probably be interested in buying a small printer/cutter. With this device, a print head lets you print full-colour graphics and cut in the same operation. Lots of businesses which start with a cutting plotter, eventually invest in a printer/cutter too.
Our BN2-20 desktop printer/cutter is great for those starting out with their custom t-shirt business – it’s small, reliable and has exceptional print quality. The process of creating a print-and-cut HTV t-shirt is quite similar to creating a cut vinyl t-shirt.
- Create your artwork, add cut lines and save as a .pdf or .eps file.
- Feed your vinyl into the printer/cutter, perform a cut test and a print test.
- Send the design to the printer/cutter using your RIP software.
- Once the print and cut operations are finished, weed off the excess vinyl.
- As before, transfer the print to your t-shirt and fix it using the heat press.
- Again, let the print cool before sending it to your customer.
Pros of Print and Cut HTV T-shirts
- CMYK ink lets you print any colour or design you like
- Printer/cutters can be used to create many other products
Cons of Print and Cut HTV T-shirts
- You will need to master both design and RIP software to maximise the quality of your output
- Cheaper vinyl can feel rigid when worn
DTF (Direct-to-film) T-shirts
DTF printing technology has added another handy method of T-shirt decoration which is not only affordable, but also has the potential to speed up production significantly. Unlike print-and-cut and cut-vinyl heat transfers, this method completely eliminates the need for weeding. Not only does this make for a more convenient production process, it also produces a durable finish with a soft and pliable feel, resulting in highly desirable products.
- Create your artwork, adding a white ink layer for darker materials.
- Print onto the special DTF media, ensuring the design is mirrored.
- Cut the design off the media using scissors or a sharp knife, taking care not to smudge the ink which will still be slightly wet.
- Coat the print in special powdered glue and shake off any excess.
- Insert the print into a custom-made oven and leave for 2-3 minutes or until all the glue has melted.
- Apply, print-side-down onto the T-shirt, and press with a heat press.
- Before removing the sheet, leave the T-shirt on a cold surface and allow it to cool down.
- Remove the sheet.
Pros of DTF T-shirts
- There is no need to weed the design, so production is much faster.
- It’s possible to produce very fine details.
Cons of DTF T-shirts
- The addition of an oven and specialist consumables can increase the start-up cost.
- It’s easy to forget to mirror the design or to allow the pressed garment to cool before removing the backing sheet.
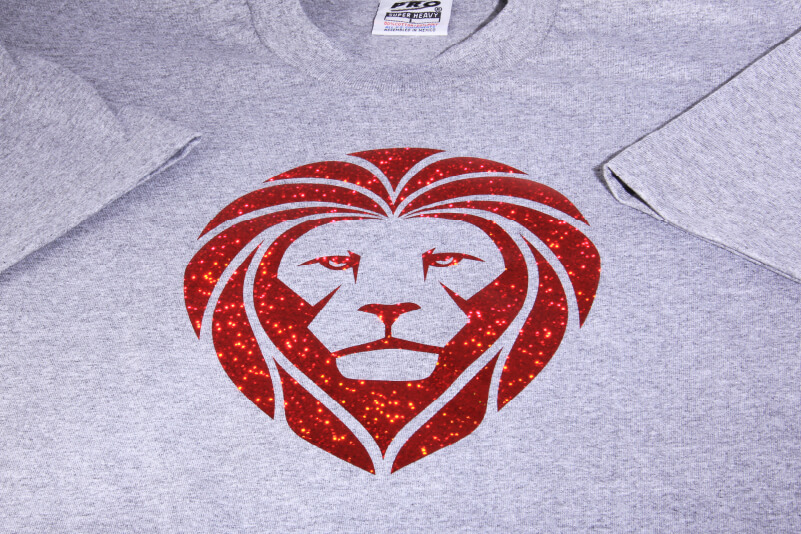
Domed HTV T-shirts
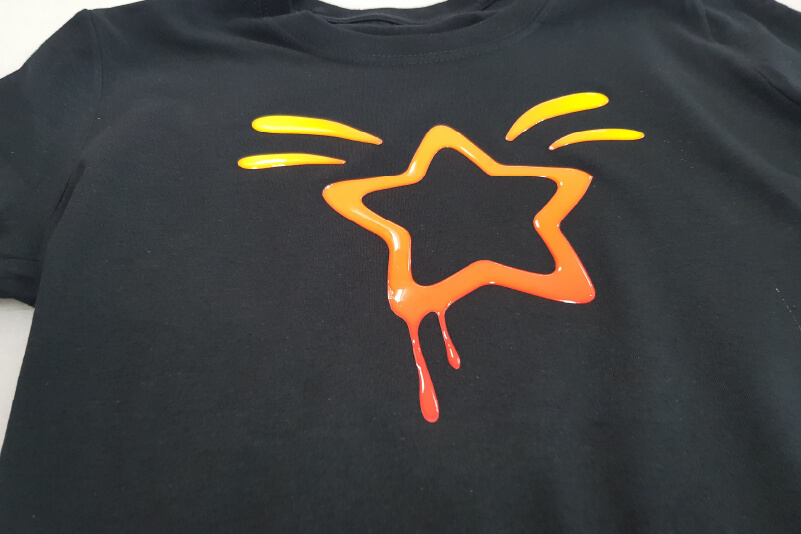
Here’s a quirky twist on a HTV print – if you want to add a glossy, raised texture, you could get your hands on a doming kit. This lets you add a liquid resin which hardens to a clear dome-like effect. In the custom t-shirt market, you need to do everything you can to stand out and this is an interesting product to add to your portfolio.
- Print, cut and weed your design.
- Carefully apply the doming resin, letting it come to the edges without spilling over.
- Leave the resin to harden for around 24 hours.
- Transfer the domed design to the t-shirt.
- Turn the t-shirt inside-out before heat pressing it.
Pros of Domed HTV T-shirts
- They’re unique and interesting.
- You can charge a premium price.
Cons of Domed HTV T-shirts
- Doming takes practice to get right
- The doming resin takes some time to cure
Dye Sublimation T-shirts
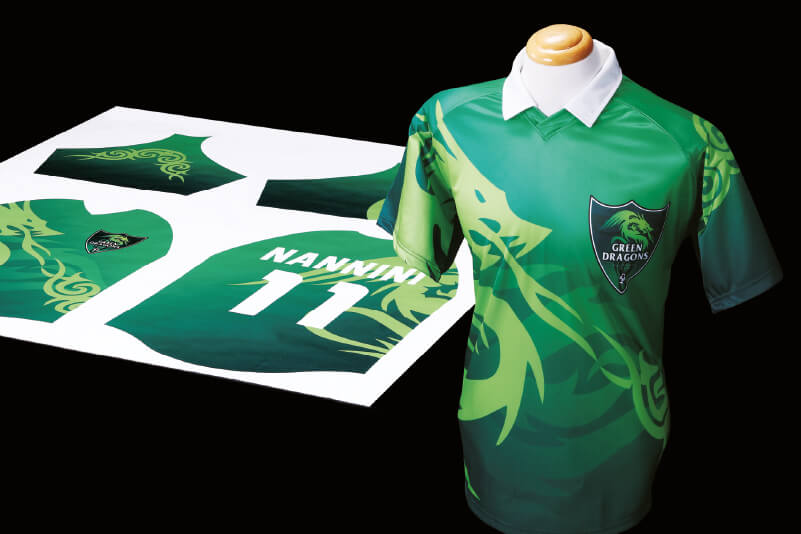
Using a dye sublimation printer is another method of customising fabric. It works by using heat to convert liquid ink into a gas which permanently colours the fibres, leaving you with a vibrant, long-lasting print. You can use this method in much the same way as HTV, applying a design to a small area of the t-shirt.
Typically, the design is applied to the entire t-shirt before it’s even cut and stitched together and it’s more common for sportswear, like football jerseys. These methods usually involve the use of a calender – a device which feeds the fabric through heated rollers. Here’s how it works:
- Load a roll of sublimation paper or fabric, depending on your printer.
- Make sure your design is in mirror image and use the RIP to send it to the printer.
- Apply the sublimation paper to the t-shirt before heat pressing.
- If you’re using a direct-to-textile method, the fabric can go straight into a calender.
Pros of Dye Sublimation T-shirts
- Colours are bright, bold and vibrant
- The result is very durable
Cons of Dye Sublimation T-shirts
- Only works with synthetic fibres
- Only works with light-coloured fabric
DTG Printing T-shirts
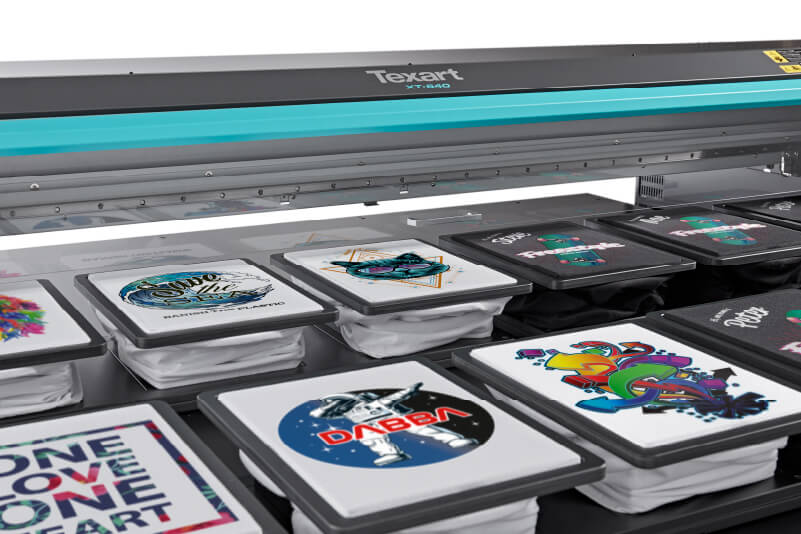
DTG stands for “direct to garment”, which is exactly what it sounds like. The technology uses a safe and clean pigment ink and works on a wide range of fabrics. These devices are available in several sizes with varying numbers of ‘platens’ – templates which hold the garment in place during printing. Here’s how it works:
- Place your t-shirt on the platen, making sure it’s aligned properly.
- Set up your artwork in the software and click ‘print’.
- When the printing operation is finished, the ink needs to be cured using a separate heating unit.
- After a few minutes, the heat will fix the ink to the t-shirt and it’s ready to wear.
Pros of DTG Printing
- Good for high-volume production
- High-quality print with a subtle texture
Cons of DTG Printing
- Equipment requires a larger investment
- T-shirts must be pre-treated before printing.
Adding Rhinestones to T-shirts
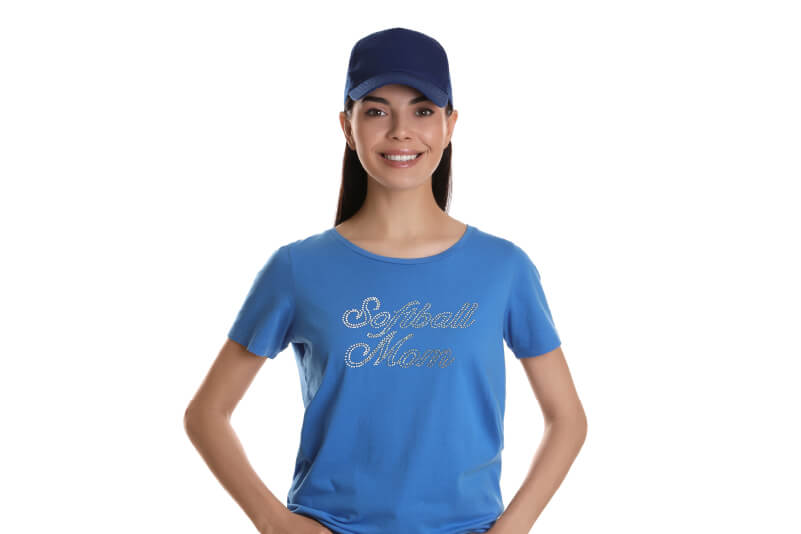
Who doesn’t love a bit of bling?! Rhinestones might not be everybody’s cup of tea, but lots of people can’t get enough of these glittery gems. Like the domed HTV t-shirts, this method lets you add an extra flourish to your printed t-shirts. It works like this:
- Design your template using Roland R-Wear Studio.
- Using a cutting plotter, cut the template out of adhesive sandblasting stencil film.
- Apply the film to a flat surface, like a tray, and remove the holes.
- Pour the rhinestones onto the film and move them around until they fill all the holes.
- Apply transfer paper on top of the rhinestones and use it to move them to the t-shirt.
- Use the heat press to fix the rhinestones to the t-shirt.
- Let the t-shirt cool before removing the transfer paper.
Pros of Adding Rhinestones to T-shirts
- It’s an inexpensive way to use existing equipment
- It’s very popular for children’s clothing
Cons of Adding Rhinestones to T-shirts
- It takes practice to create effective templates
- It can be time-consuming
Screen Printing T-shirts
Or maybe you’re more of a traditionalist and you prefer to make t-shirts the old way. Screen printing has been around for almost a thousand years, and it’s still used today by many custom t-shirt businesses. It works by using stencils to create a design and then using a squeegee to apply the ink. It’s very simple, very manual, and very ‘artisanal’.
These stencils can be meticulously cut by hand, if you want a start-to-finish hand-made design, but time, as they say, is money. Speed things up by using a cutting plotter to create your stencils instead
Pros of Screen-Printing T-shirts
- Ink is hard-wearing and wash resistant
- Basic small-scale equipment is inexpensive
Cons of Screen-Printing T-shirts
- Set-up is time-consuming and difficult to customise on short runs
- Multi-coloured images or high-definition photos can’t be accurately reproduced
Conclusion
No matter which approach you decide to use, there’s no denying: digital printing technology provides lots of ways to create your own custom t-shirts and make a profit. If you want to discuss your options further, get in touch with Roland DG and we’ll be happy to help.