If you’re in the business of product customisation and personalisation, chances are high that you’ve invested in, or plan to invest in, UV flatbed print. And why not? There are very few limitations to the type of media you can print onto, so the opportunities to make a profit are vast.
UV ink is known for being compatible with almost any surface, but what does that really mean? In this article, we are going to take a deeper look at what you can print onto, dispel any common myths and provide some advice for printing on more difficult substrates.
In this article:
- What is UV Flatbed Printing?
- What Can I Print On?
- What Can’t I Print On?
- Tips for Printing on Challenging Substrates
What is UV Flatbed Printing?
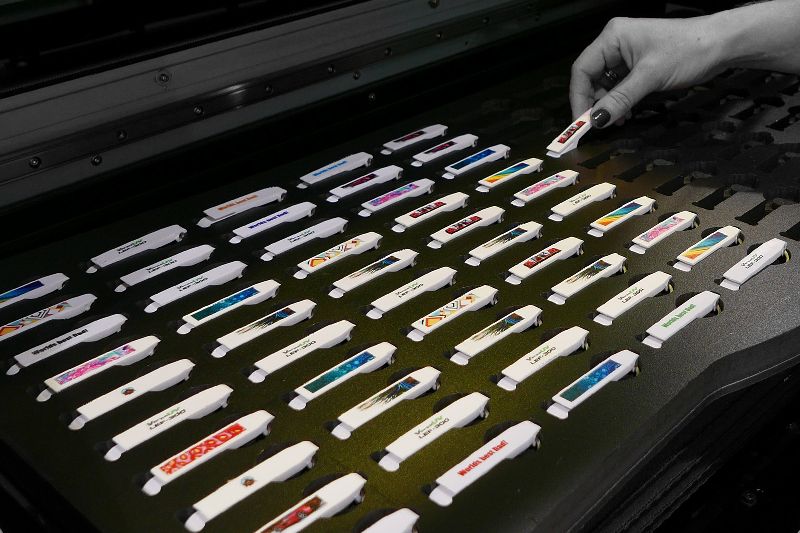
Digital UV flatbed printing is a direct-to-object inkjet print process that has made it possible to print onto any number of materials that might have been too costly or too difficult with traditional printing methods and inks.
An object is placed on a flat printing bed and the ink is laid directly on top of its surface, curing instantly as a UV light passes over it. Adjustable printing beds mean that objects of varying shapes and sizes can be printed on, ranging from flat substrates and boards to wooden tabletops, electronic devices, and even glass bottles. Flatbed print delivers exceptional versatility in the types of objects you can print on while maintaining the high quality you’d expect from digital print.
You can also print multiple items at once, even if they are different designs, objects, or sizes. Assuming the object fits within the maximum printing dimensions, the only real stipulation is that the surface of each object is level with each other so that the printhead can deliver ink consistently.
What Can I Print On?
Before digital UV Printing, customising objects was prohibitively expensive for many businesses, both in terms of time and budget. Screen and pad printing can produce impressive results but require a great deal of management in set-up and production and are usually more suited to large print runs. Digital printing, on the other hand, enables short-run customisation and personalisation with ease.
Unlike traditional inks that rely on absorption into the material, UV ink cures instantly when exposed to ultraviolet light. This has opened up any number of materials that can be printed on, resulting in numerous advantages for businesses and customers alike.
There are many substrates available if your objective is to print flat stock items such as foamex and other rigid substrates, but this article will look at the printable products made from the common, followed by some less-common, substrates that you can print onto with your UV printer.
Paper and Packaging
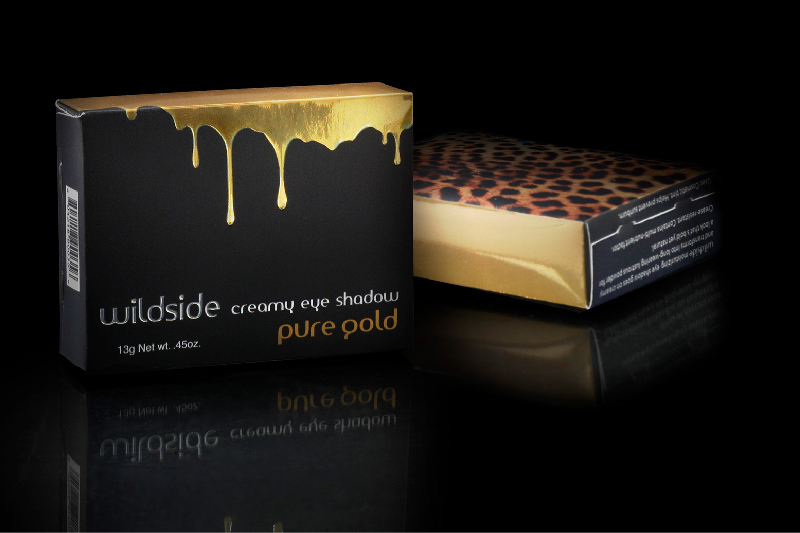
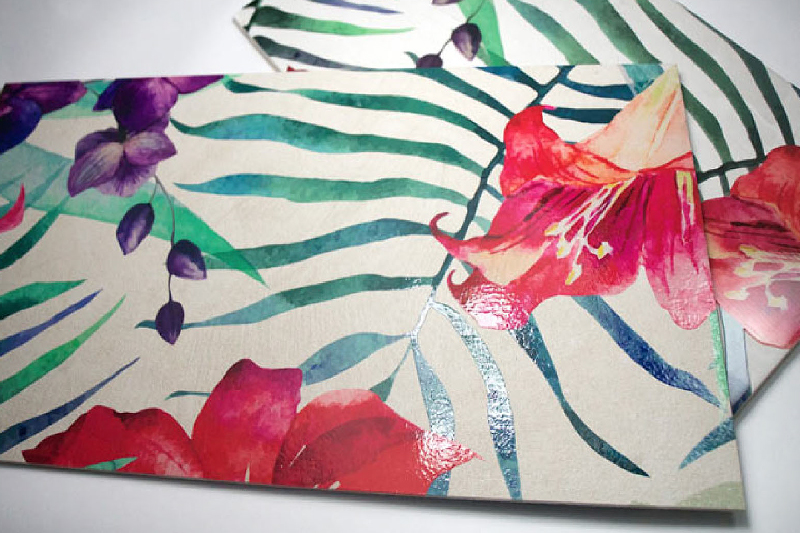
With so much focus on the more unique substrates that UV printing makes printable, it’s easy to forget that UV ink can produce fantastic results on paper, cardstock and cardboard packaging. Its rapid curing time allows for exceptionally quick production turnaround, and it produces vibrant colours and sharp details that enhance the overall print quality.
A special feature of UV ink that sets it apart is that it can be built up in layers to produce tactile textures. UV gloss ink can be used to create special effects for even more options, making it an excellent option for eye-catching product packaging.
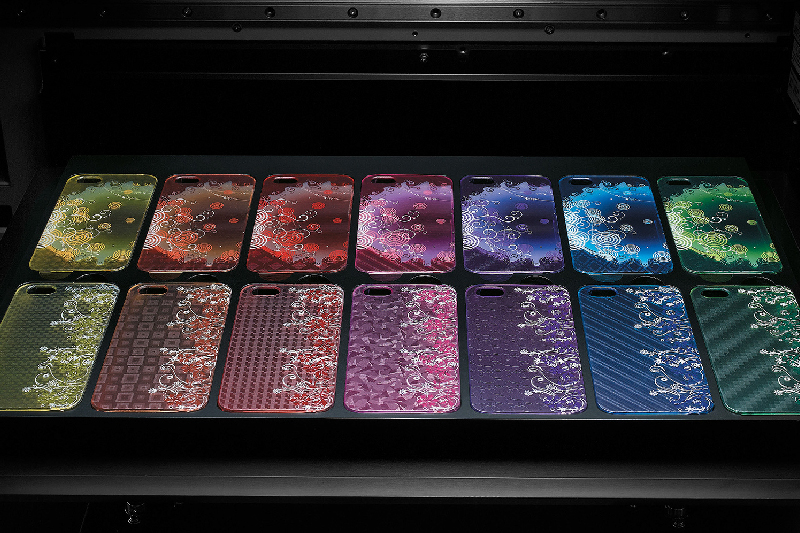
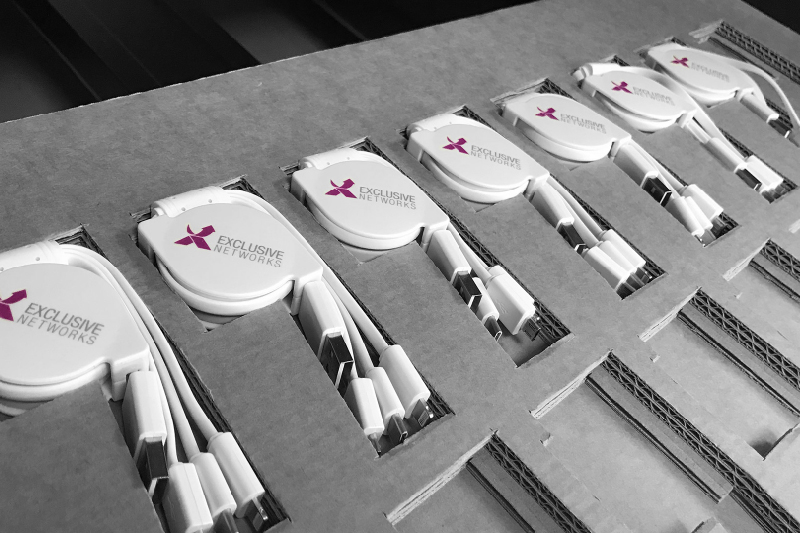
Plastics
Printing on plastic is largely what made UV print such a revolutionary technology. UV ink is compatible with various types of plastics, including acrylic, PVC, polycarbonate, and polypropylene and is commonly used for signage, displays, and industrial applications. The phone case market is particularly popular, and electronics and promotional items are all ideal applications for personalisation with UV.
Not all plastics are created equal, and some are more troublesome than others. The good news is that there are techniques that can help offset the difficulties and you can often fix these issues using features in your RIP software. More on that later.
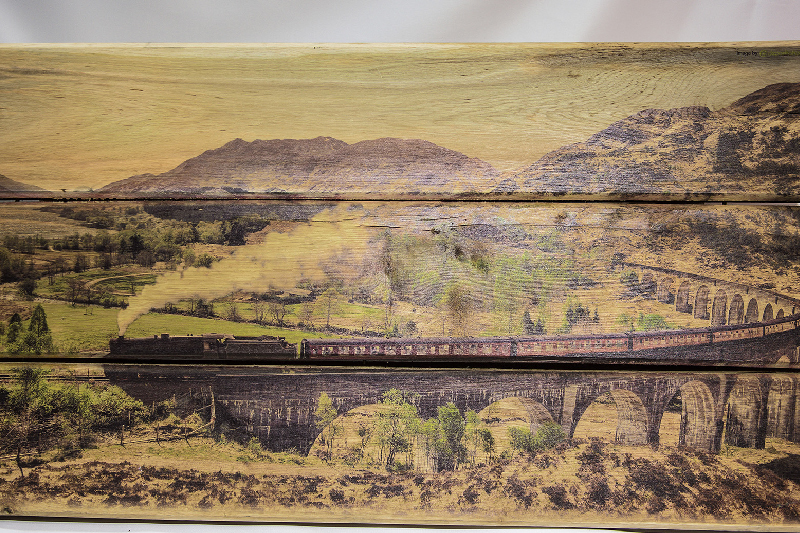
Wood
UV printing on wood is particularly popular in the art, home décor, and furniture industries, allowing for unique designs on an already textured, natural material. Printing custom frames, wedding favours and tabletops, to name just a few, can all be profitable additions to your product offering.
Wood is available either coated or uncoated, as natural wood or composites (MDF, plywood, etc). All sorts of wood can make interesting print substrates if you use their grain and colouring, including oak, birch, cedar, walnut, bamboo and maple. Composite or coated wood is particularly suited to printing because the surface is smooth and provides a great natural colour base.
As an alternative though, it’s worth remembering that UV ink’s ability to be built up in layers means that you can print fantastic reproductions of wood effects, complete with 3D texture.
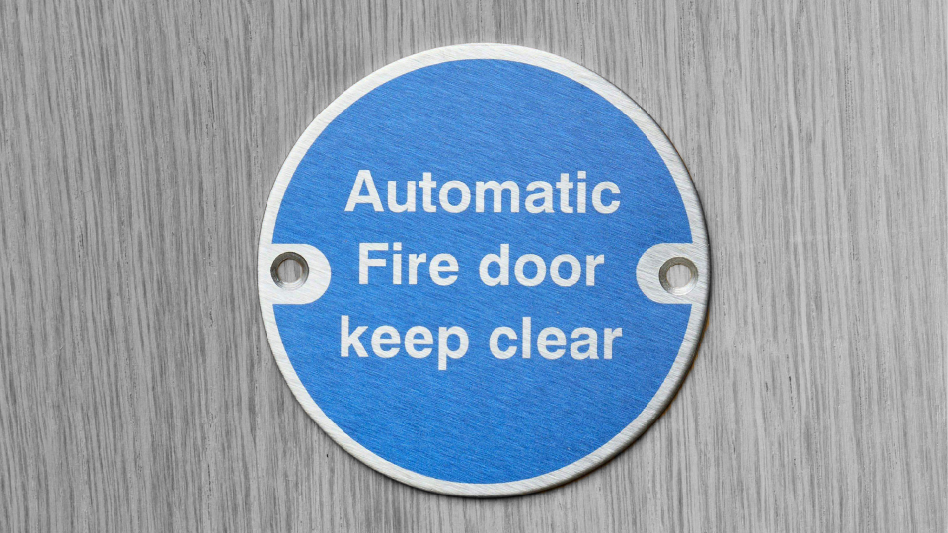
Metal
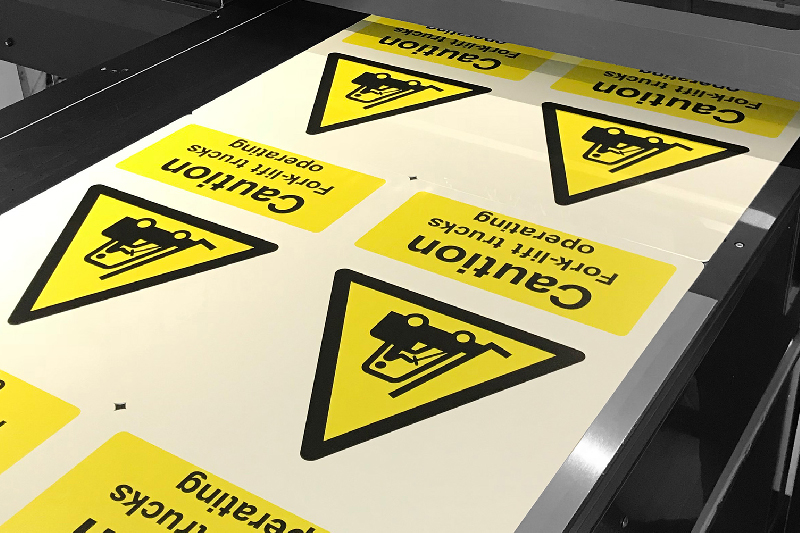
Another substrate that comes in many forms. Aluminium sheets are popular, especially in the industrial signage market where hard-wearing, long-lasting products are required. The prints are highly fade and scratch-resistant, making them suitable for a wide-range of environments.
Metal can come with different textured surfaces, including brushed, anodised, or coated, which allows for versatile finishes. Some shinier and more reflective metals like stainless steel, however, can be particularly troublesome to print on and will take some preparation to get right, more on this later in the article
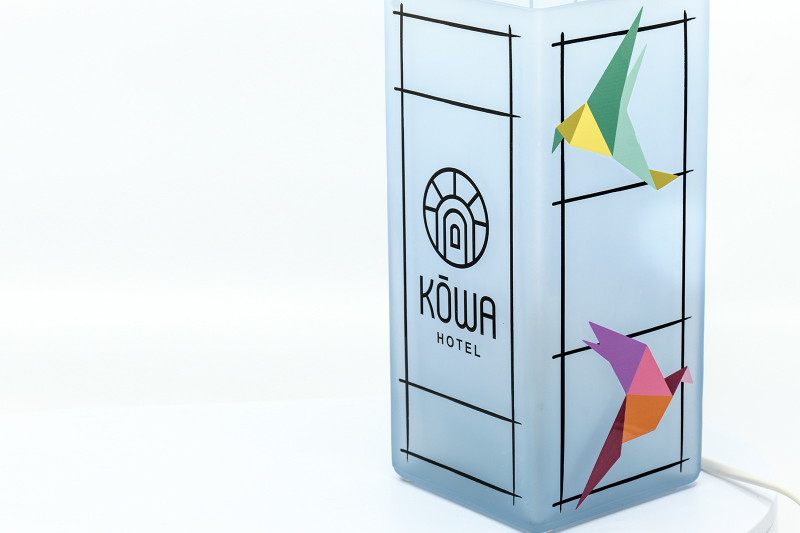
Glass
The ultra-smooth, non-porous and relatively reflective surface of glass can be a challenge without the right preparation, but the results are certainly worth the extra effort.
We’ve seen some very impressive examples of printed glass items like gin bottles, trophies and gifts. These products can make ideal gifts or liven up indoor spaces. You can also add 3D textured effects with clear UV ink, which can look as great as it feels.
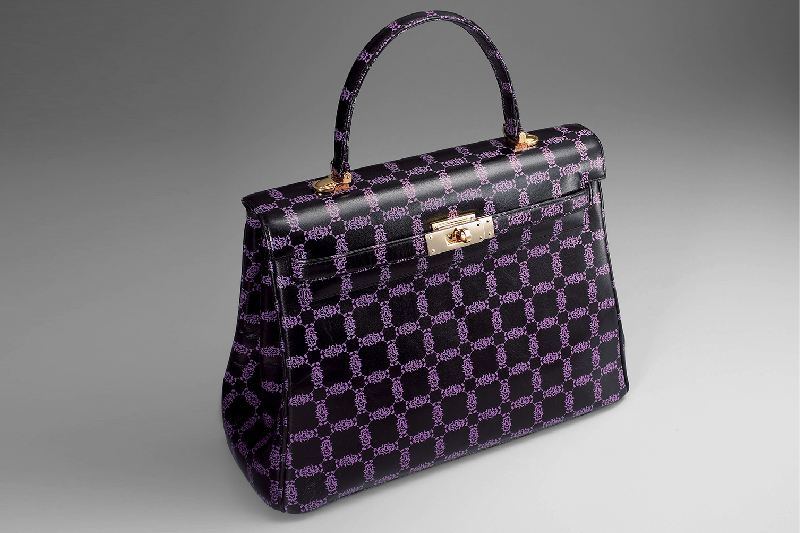
Leather
Custom leather products are always in demand and highly profitable, with UV print being a quick, economical, and versatile method of customisation. Bags, shoes, wallets and more make for popular personalised leather products. While you can print onto the raw materials used to make these items, you can often print directly to the finished product itself to create something unique.
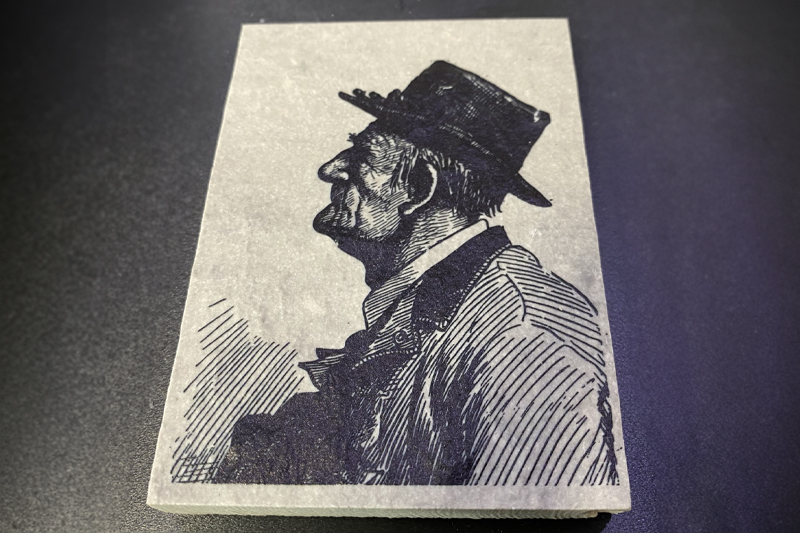
Stone and Slate
Stone and slate are popular substrates for many applications, especially in the home décor market. Natural substrates like slate often have porous and uneven surfaces, so pretreatment may be required to ensure adhesion is good. Their natural grains and colours make them ideal substrates for anything from coasters or house number signs.
Ceramic
Ceramic floor or wall tiles provide a timeless appeal and versatility that can transform any indoor space. UV print allows you to recreate an embossed effect that adds depth and texture to your designs. This works wonders for transforming flat surfaces into appealingly tactile products. With a UV gloss coat, you can enhance the visual appeal, while providing a protective layer, ensuring your tiles withstand wear and tear over time.
For some inspiration, check out the fantastic work that Nicola Rubino and his team at Gemanco Designs have been producing.
What Can’t I Print On?
There’s not much in all honesty, and even then, it’s often a result of not knowing how to get around the difficulties rather than not being able to at all.
However, there are a few occasions where UV print won’t work.
Reflective Surfaces
Reflective surfaces are particularly troublesome for UV printers. The UV light that’s so useful when curing the ink on the substrate will reflect into the print heads and cure the ink instantly, blocking them. So, printing on glass is possible, especially with a dark background, but printing on a mirror isn’t.
Height Differences
Ink is fired in very fine dots, so the further the print head (which travels on a flat plane) is from the media, the more dispersed the dots will be – an effect known as misting. For optimum print results, the substrate needs to be as flat and as close to the print head as possible, so objects with an uneven surface likely won’t be printable.
A quality jig can help here as it can be moulded to the specific object, however, there are still objects that won’t allow the print heads to get close enough consistently enough to print properly.
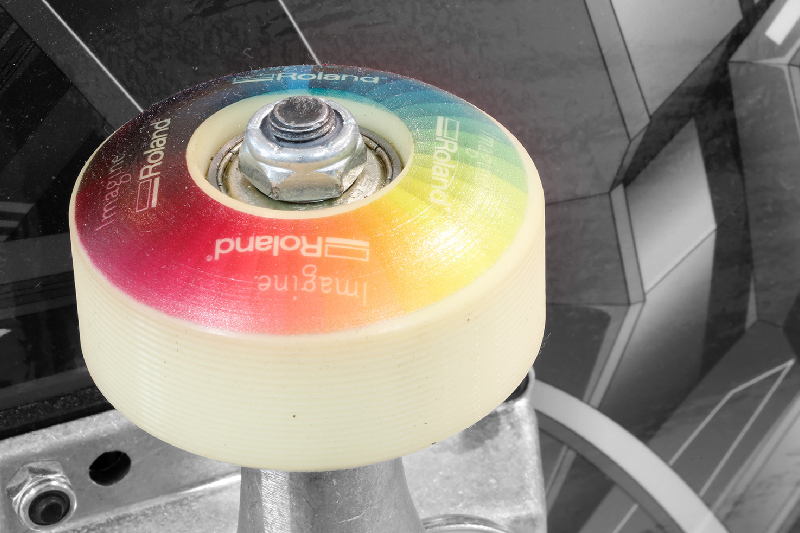
A Strong Curve
A dramatic curve on an object will similarly lead to uneven ink distribution. The tolerance for a curve is usually around 2 - 3 mm, depending on your machine, any more than that can become a challenge. A rotary jig is very useful when printing curved surfaces like bottles, but if the curve or the object is too large, it won’t be possible to print effectively.
Water Resistant Materials
Objects that have been designed specifically to repel water won’t be able to bind with UV ink. This rules out silicone items, such as non-slip bath mats, or waxed and other treated items. The low surface tension of the substrate actively repels liquid as it doesn’t let it form droplets, rather it spreads out in a wet blob.
Tips for Printing on Challenging Substrates
While some substrates are more difficult to print onto than others, certain techniques can help your print in even the trickiest of situations. A good RIP software is essential as the process can be more complicated than simply creating a design and pressing print.
1. Slow Down the Print Head Using VersaWorks
Slowing down the print head ensures that the ink can be fired as accurately as possible, giving it the best chance to adhere properly. You can also choose for the print head to pass more often.
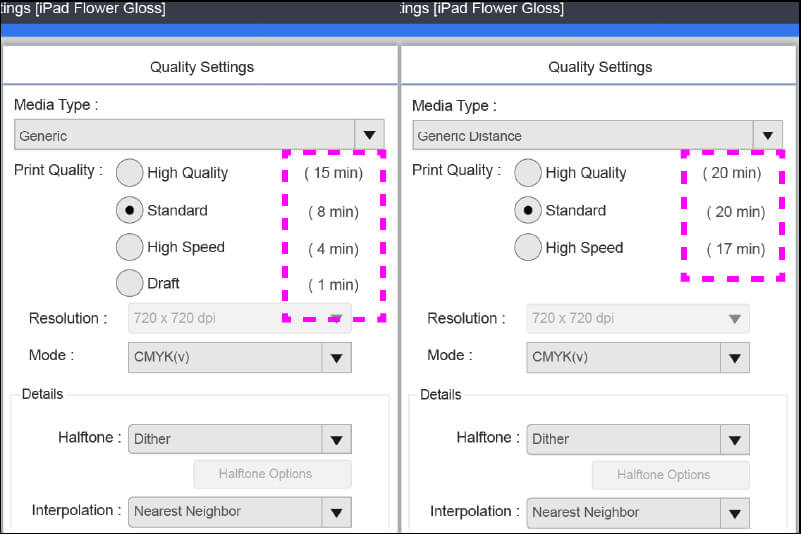
2. Generic Distance Mode in VersaWorks
This feature is used when the substrate you are printing on isn’t perfectly flat, has a slightly undulating surface or has higher and lower areas. Generic Distance mode slows down the print head and fires slightly larger ink droplets which travel better over longer distances.
3. Use a Jig for Multiple Items
When printing multiple objects, it’s advisable to use a custom printing jig or similar device to ensure spacing is correct and reduce the possibility of misalignment and printing errors. It doesn’t need to be complex - in fact, masking tape or putty can be enough, depending on the object. Jigs can also bring several differently-sized objects to the same height, maintaining consistent print quality.
4. Use a Rotary Device for Printing onto Round Objects
A jig that rotates your object (think a glass wine bottle) as it is printed makes it possible to print directly on cylindrical items.
5. Print a Gloss Layer
You can prepare your surface to ensure optimum print quality, much like painting with a primer. Try printing a layer of clear gloss as a base coat to leave the surface smooth and consistent – especially useful for closing off the pores in natural substrates like wood and slate while retaining their rustic look.
6. Prime Your Print
Your print surface must be clean, dry, and free from any contaminants or oils that may hinder ink adhesion. UV primer is essential in preparing the most difficult of surfaces to help improve the ink's bonding to the material and enhance the print quality.
7. Consider Surface Treatment
For certain materials with challenging printing surfaces, additional treatments such as corona treatment or flame treatment might enhance ink adhesion.
8. Use Gloss ink to Encapsulate or Emboss Print
Embossing lays down multiple layers of matte varnish with a gloss finish on top, resulting in a high-quality finish that is tough and resilient to whatever it might be subjected to.
9. Use a White Ink Layer
White ink can prevent the colour of the substrate from diluting the print. It gives vibrancy to the printed colours, even on the darkest backgrounds. Be sure to make the layer slightly smaller than the print layers so that you don’t get a white stroke around the edge of the print.
10. Choose the Right UV Ink
Is your substrate flexible or rigid? Ensure that the UV ink you select is suitable for the specific surface you want to print on. Stretchable inks are available that are ideal for substrates that need a little flexibility, like leather. Rigid inks work better on rigid substrates, especially those that are more difficult to print on as they adhere faster and stronger. Roland DG EU5 inks are specially formulated to be optimised for both flexible and rigid substrates, making them ideal no matter what you are printing on.
11. Test Your Print and Your Substrate
Make sure you are confident of the ink’s adhesion and quality before doing a full production run by performing a test print so that you can make any necessary. It’s also advisable to make sure that the ink and substrate are compatible and that one won’t damage the other.
Conclusion
UV flatbed printing is as versatile as its reputation suggests. As with anything, it has its limits, but with a bit of effort, education and the right tools, you can overcome most challenges that might present themselves when printing.
If you’d like more information on anything mentioned in this article, please contact your Roland DG representative, or talk to an expert here.