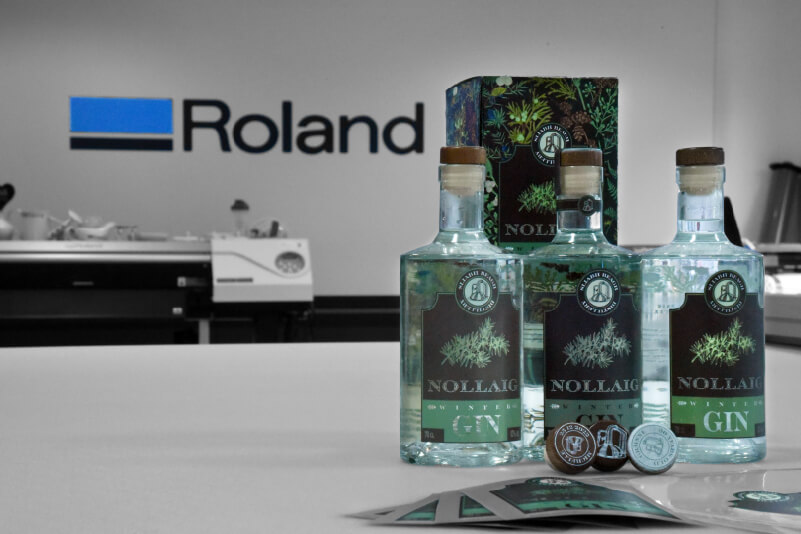
When it comes to branding products, making bottle labels is much easier than producing a folded carton prototype. We discovered this on our latest Application Challenge when we were tasked with creating a gin bottle and box from scratch. If you’ve missed the story so far, you can go back to the beginning here.
With digital printing technology, there are several ways to produce bottle labels. On our quest to make our own bottle label, we couldn’t decide which method we preferred… …so we bought extra bottles!
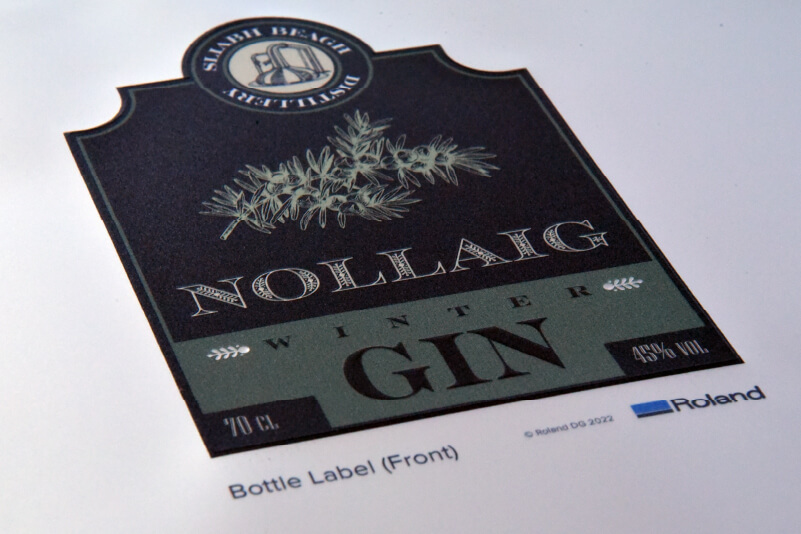
Method 1: Front and Back Labels
For this method, we printed and cut the front label from metallic vinyl using the LEC2-640 UV printer/cutter. We manipulated the white ink layer to expose the desired metallic elements and added some glossy embellishments. We also made sure to include a couple of millimetres of bleed around the edge – Roland DG’s UV printer/cutters cut very accurately, but it’s always good practice to include bleed for any contour cut job.
For the back label, we wanted the design to be visible from the front of the bottle, through the liquid – something we’d seen done to great effect in our research. To get the desired effect, we used a clear adhesive media and printed in three stages.
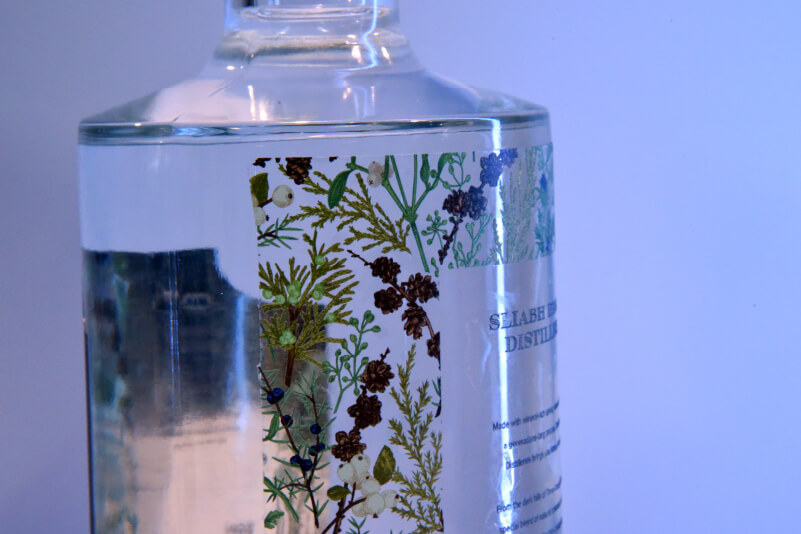
First, we printed the design with CMYK ink (this would be visible from the front of the bottle. We then added a layer of white ink, before printing an additional layer with the same CMYK design.
This task was made easy with the use of VersaWorks’ Job Grouping function. Here, we simply split the job into three stages:
- First CMYK pass, then return to origin
- White ink pass, then return to origin
- Second CMYK pass, plus cutting
We then batched all three jobs into a single job group, which meant that we only needed to click the ‘print’ button, and the device would finish the entire job with no need for intervention.

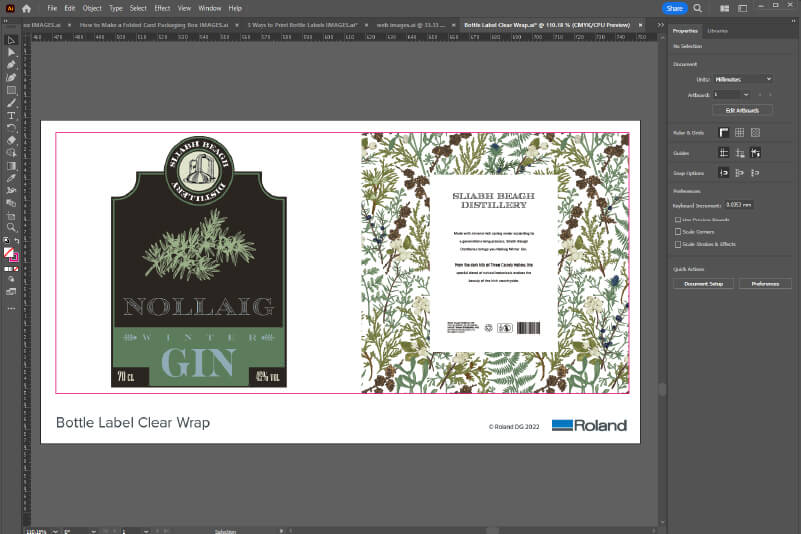
Method 2: Single Bottle Wrap
For this method, we printed both the front and back labels on a single transparent adhesive. We already knew the height of the adhesive; to figure out how wide the graphic should be, we multiplied the diameter of the bottle by π (3.14) to calculate the circumference and rounded it down by a few millimetres.
Then, it was a simple matter of copying the front and back layers (including their gloss and white data) and placing them side-by-side. Instead of just removing an area of the white layer as we’d done for the metallic vinyl, we also punched through the CMYK graphics to expose a completely clear area for these elements. The only other thing we needed to do was to remove the bleed from the front label as we wouldn’t be cutting it out.
To speed up the workflow, we used VersaWorks’ Job Grouping function, adding an additional stage for the gloss sections. Once the adhesive was cut out, we simply wrapped it around the bottle.
Method 3: Rotary Printing
The LEF2-300 flatbed UV printer has the option of adding a rotary printing unit. We are always looking for reasons to play with it, so this seemed like the perfect opportunity.
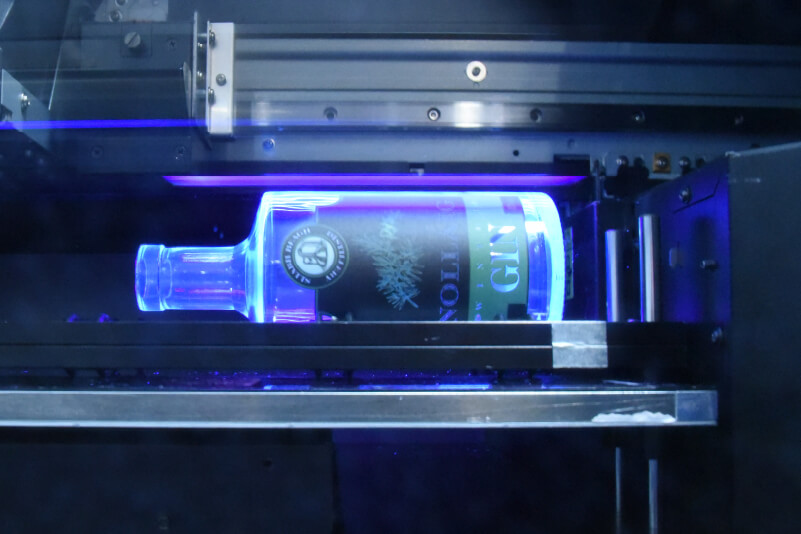
Once we had installed the accessory in the LEC2-300, we simply had to do a little calibration and we were ready to go. For the artwork, we modified the bottle wrap artwork to remove any bleed areas. We printed the same white layer and CMYK layer and we were satisfied with the results.
Additional Elements
Now that we had the labels in place and our bottles filled with gin (we thought it would be inauthentic to use water), it was time to add a few more details.
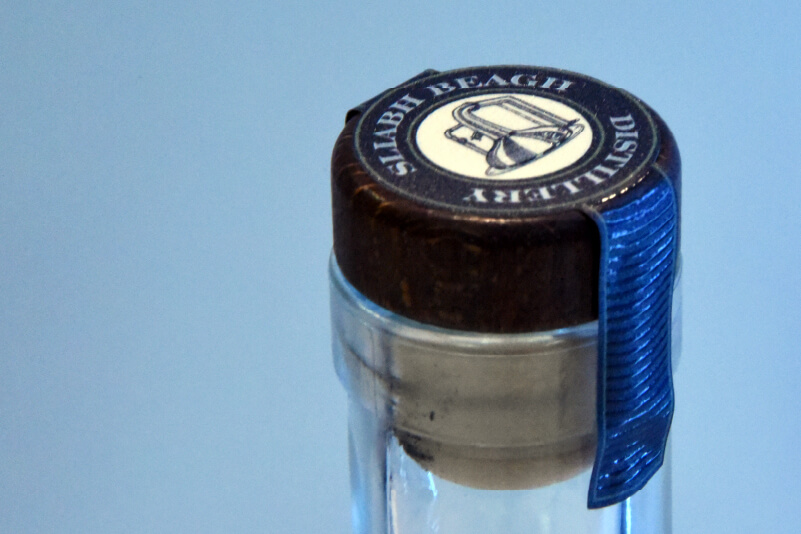
Cork Tie
We printed and cut this much like the bottle label, and carefully placed it in line with the labels.

Neck Ring
Again, this was another simple print and cut job, with another fun math problem to calculate the circumference of the neck.
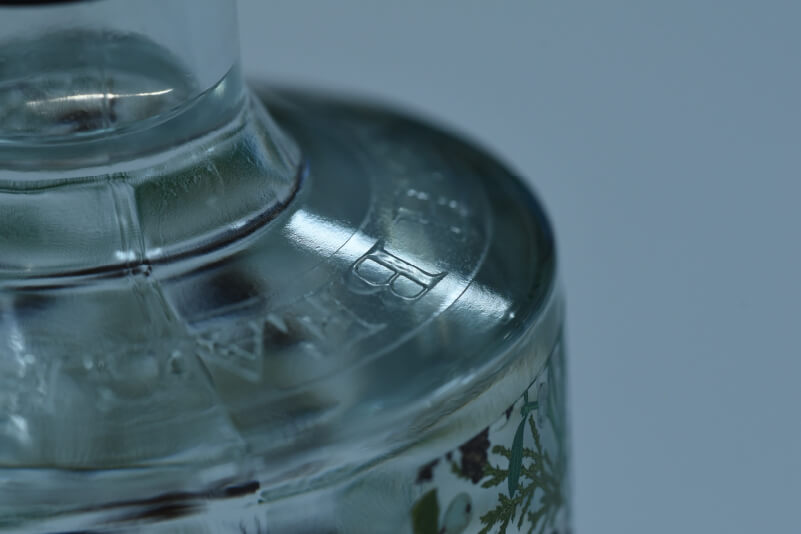
Collar Gloss
We wanted to add another subtle element of interest around the collar of the bottle. Here we simply typed the name of our fictional distillery, arranged in a circle in the same font, and filled it using the gloss swatch. We then added a simple cut line around it and printed, then cut it using the LEC2 printer/cutter.
Conclusion
Now we had a selection of beautiful gin bottles, all produced in different ways, and some gorgeous boxes to put them in. We just had a few finishing touches left to apply and our challenge would be a success. Read our final instalment to see how we added personalisation to our packaging.
If you want to find out more about digital print solutions and how they can help businesses grow, get in touch with us and we’ll be happy to discuss your needs.