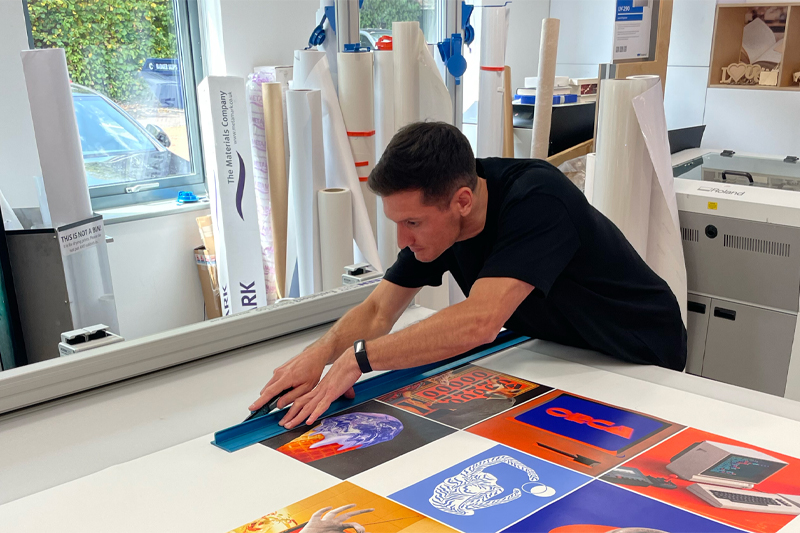
by Max Harding, Senior Designer at ORCA
This article from our new guest blog series is by Max Harding, Senior Designer at Bristol-based design agency ORCA. Max shares some valuable advice for prepare files for large format print that he’s gained during his career, including working directly with Roland DG on large-format projects.
Firstly, you’re probably asking yourself ‘who is this person?’ and ‘why should I listen to what he has to say?’. Well after nearly 10 years in the design industry I’ve seen my fair share of printing disasters and I’m here to ensure you don’t make the same mistakes.
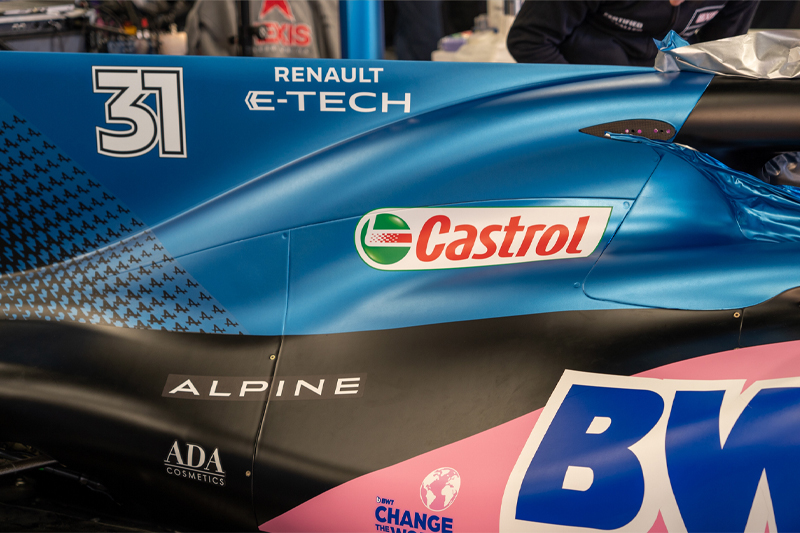
Since working with Roland DG, I’ve been amazed by the capabilities Roland machines have to offer. Their large format printers produce super sharp definition whilst also achieving incredible vibrancies of colour.
The VersaWorks RIP software effortlessly converts your digital files to physical prints with a couple of clicks. With most RIP software there are several presets that can help you to fine tune your final print. I always advise to test a small section with at least 2 or 3 presets before printing the whole piece.
However amazing I think Roland machines are, your creative can all be undone if your artwork isn’t set up correctly. So, below you will find my tips and tricks to ensure you’re getting the most out of your large format Roland printers.
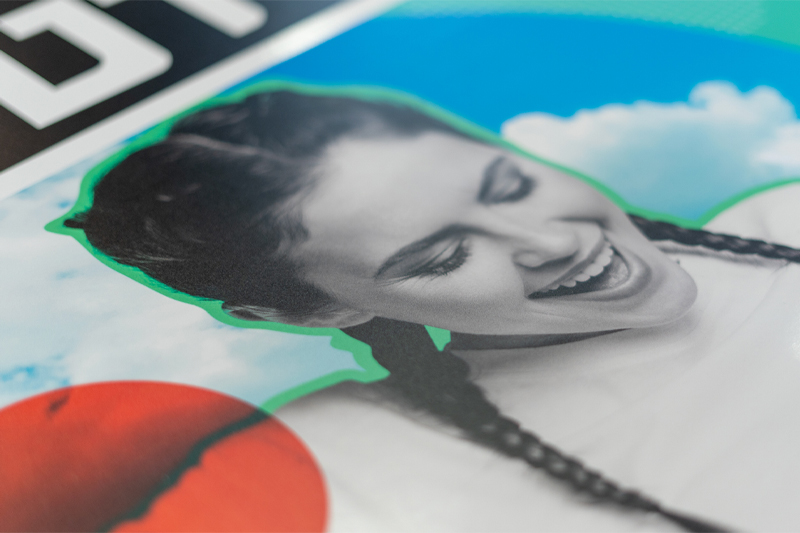
- Check Your Image Resolution
With large format print there is an industry standard that everything should be at least 100dpi at 100 percent. Effectively this means that if you are designing at 50 percent your minimum resolution should be 200dpi. If you’re worried about the resolution of an image, test sections of a print before, to see if your creative is going to be of sufficient quality when printed at full scale.
- Export Settings Matter
When exporting your artwork for print it's important to ensure the settings are correct to provide VersaWorks with the most information possible. When exporting from Adobe CC I often use the preset - PDF/X-4:2010 which helps flatten some elements within the file, making it easier for the RIP to read. This is a great base for any other custom settings you want to include, depending on your specific print setup. In general, PDF and EPS work best for wide-format print because they can contain scalable vector information and any high-quality imagery.
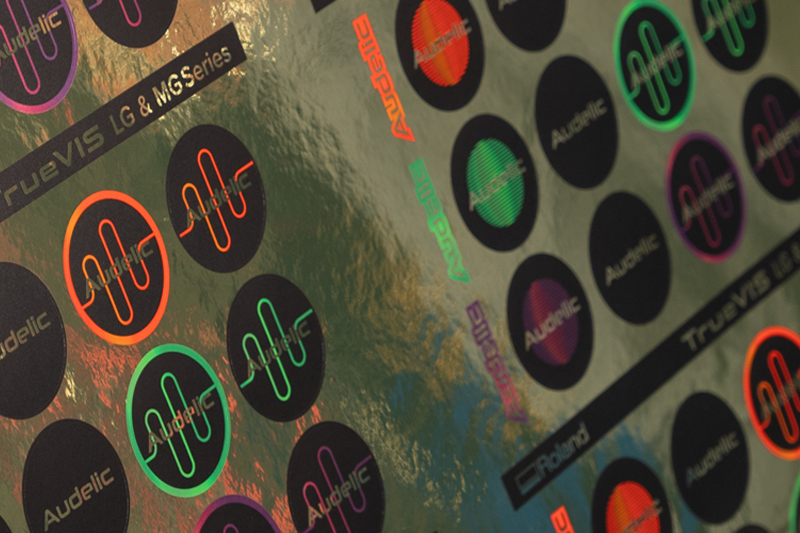
- Special Inks Can Make Help Designs Pop
Roland printers host a wide variety of special ink types, including white, gloss and primer ink in addition to traditional CMYK colours. When setting up any of these to print, it is important to label them correctly within the file so VersaWorks can read them, and your printer can produce them. To make things easier to manage, I like to ensure spe cial colour information is on its own layer in Illustrator and the swatches are selected as below:
- White: RDG_WHITE
- Gloss: RDG_GLOSS
- Primer: RDG_PRIMER
Obviously, there is a lot more to go through when it comes to large format printing but hopefully these three tips will help you navigate through it with a little more confidence. If you’d like more information on anything mentioned in this article, please contact your Roland DG representative, or talk to an expert here.