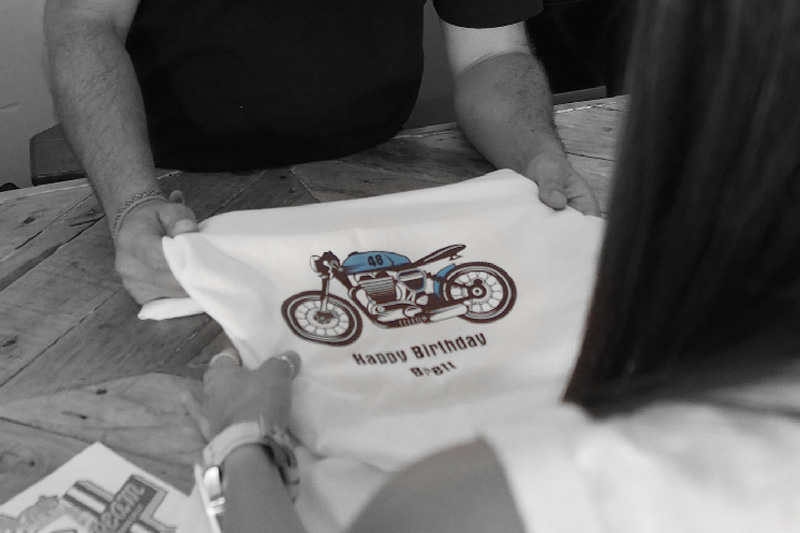
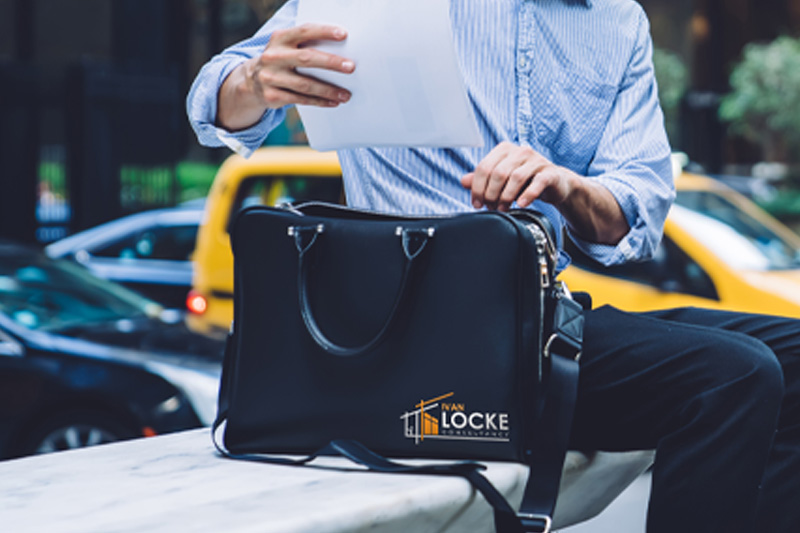
Giving people the chance to choose how they express themselves will never go out of style. Fashion is very personal and we’re all different, so why should we settle for the same as everyone else?
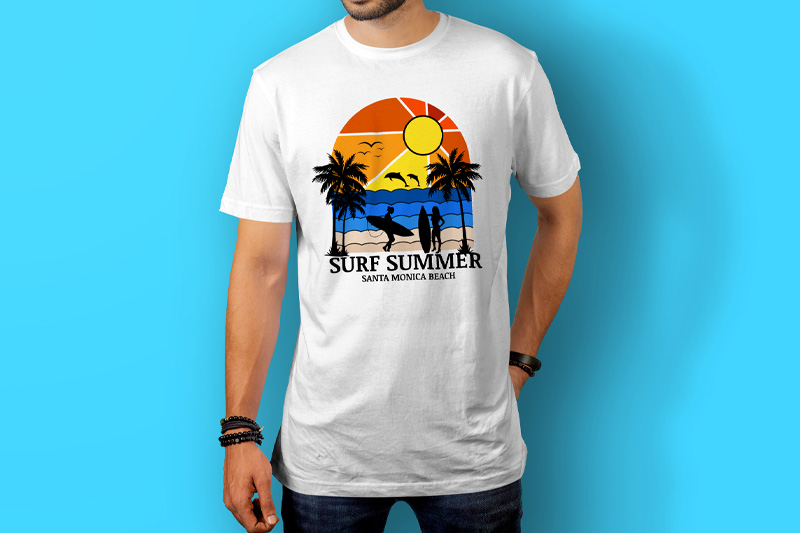
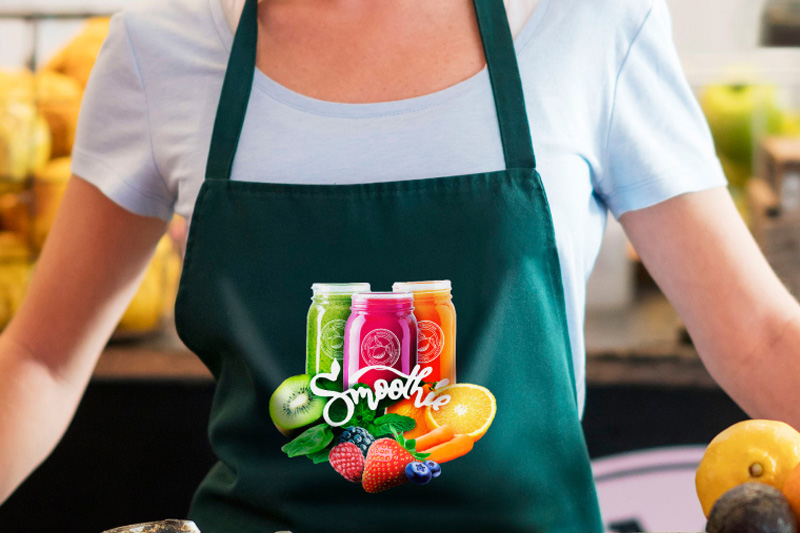
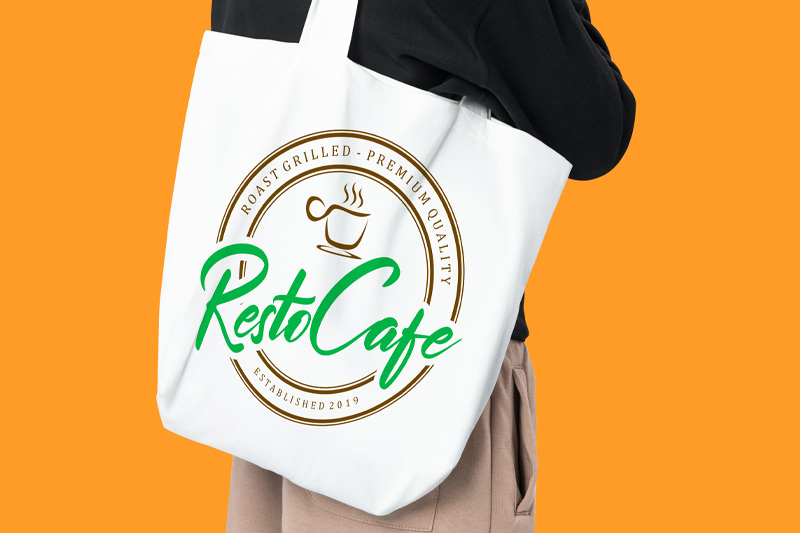
Direct-to-film (DTF) printing has joined heat-transfer vinyl as a versatile and inexpensive method of garment customization that’s great for smaller runs or individual web orders, whether you’re starting out on your customization journey or want to take the next steps in adding to your product range. From t-shirts to tote bags or even some rigid substrates like cases and coasters, product personalization has never been easier.
So, what is DTF and why could it be the perfect technology for you and your customers? In this article, we’ll look at what you need, why you need it, and why it could be right for you.
What is DTF?
DTF printing is an inkjet print technology for customizing t-shirts and other fabric items with colorful, detailed graphics and text. It’s quick and easy to get excellent, high-quality results, making DTF a legitimate rival to heat-transfer vinyl as the apparel customization solution of choice. However, DTF and HTV are both good at different things, so they also work well as complementary processes.
What sets DTF printing apart from HTV is that it’s ideal for working with intricate artwork or high-definition designs that use lots of colors. The ink is transferred directly from the film to the fabric, so there’s no need to weed the excess. Basically, the more complex the design, the more suited it is to a DTF transfer.
HTV has excellent benefits too and may be more suitable for the products you want to produce. You can read our comparison article on whether DTF or HTV is right for you here.read our comparison article on whether DTF or HTV is right for you here.
What Makes DTF Special?
The popularity of DTF printing is on the rise and it’s easy to see why. It presents a low barrier to entry, so is a great method of fabric customisation regardless of your experience level. The cost isn’t prohibitive either, so it’s an obvious choice for those wanting to expand into fabric printing from a crafting background, while also being an excellent supplement to existing processes.
Of course, being able to print high-resolution, photo-realistic prints or very complex designs is the most obvious advantage of DTF. The quality of the transfer is consistently high. It’s thin enough to keep the natural texture of the material, as well as being stretchable enough to withstand stress and movement. It also performs well when washed, being able to keep its color for upward of 30 washes without fading depending on the material used.
DTF is compatible with many types of fabrics, so there’s no need to use different technologies or processes if you plan to use a wide variety of materials. There’s also no need to pre-treat the substrate before transferring the print.
What Can You Transfer Onto?
DTF transfers work on numerous fabrics, from cotton and polyester to synthetics and blends, treated leather, and even silk. Printing with white ink means that you can transfer equally well to both light and dark garments, which often isn’t possible with other printing methods.
While t-shirts and apparel are what DTF has become known for, it’s a lot more versatile than many realize, and we are still experimenting with its full range of possibilities. The following isn’t an exhaustive list but gives a good indication of what is possible.
- Fabric: Tote bags, towels, and bedding.
- Soft Signage: Designs and graphics for signage, posters, banners, and other promotional materials.
- Promotional Products: Mugs, pens, lanyards, and mouse mats.
- Covers: Diaries, journals, and photo album covers.
- Leather: Bags and garments.
- Glass and Acrylic: Glass awards, signage, or decorative pieces.
- Wood: Wooden signs, plaques, or wooden panels used in artwork or decoration.
It's important to note that the effectiveness and suitability of DTF printing may vary based on the specific material, for example, some substrates, such as natural or synthetic leather, can lose their texture under the heat press. It’s always a good idea to do some testing first, and always use protection paper so that the platen doesn’t damage the substrate. But part of the fun is experimenting and finding those new products that nobody else has discovered yet.
Design Preparation
You don’t have to be a strong graphic designer to be able to offer DTF transfer products. Often, your customer provides their own artwork, such as company branding, band merch, or their own designs. You could always outsource design work if you need to. However, design software, such as Adobe Illustrator, Photoshop, or CorelDRAW, is a useful tool in preparing the design files. Which one you use is a personal preference though, so find one you are comfortable with.
Again, the RIP software you use can come down to personal preference, but all Roland DG machines come with a powerful and intuitive RIP called VersaWorks 6. The simple-to-use control panel and built-in tools make it easy for users of all skill levels.
Your computer will need to be powerful enough to run the software you use, so make sure your system matches the requirements.
The Importance of White Ink
To ensure the colors pop on dark-colored substrates, a white layer needs to be printed on top of the CMYK layer (it will be the base layer once the transfer is complete). You don’t need to print a white layer if you are transferring to white substrates, but it is still recommended at least at a 50% density. Adding a white ink layer in either your design or VersaWorks 6 RIP software is a simple process, made easier using inbuilt color libraries.
What You Need to Get Started
DTF printing is a relatively cost-effective and straightforward method of introducing apparel customization into your product range. However, there’s a little more to the process than simply purchasing the correct printer, so here is a list of what you would need to create high-quality, visually stunning DTF transfers, quickly and efficiently.
- DTF Printer – These desktop inkjet printers can print high-definition images onto a transfer film and require both CMYK and white ink channels.
- Pigment DTF Ink Including White* – CMYK ink allows for a large color gamut, while white ink can be used as a base coat to make sure the colors show up on darker backgrounds or as part of the design itself.
- DTF Film – This specialized translucent film is designed to receive the ink from the printer and transfer it to the fabric. It allows the ink droplets to form accurately on the surface, producing high-quality graphics, while also releasing the ink when transferred to the fabric.
- Adhesive Powder – The film is covered in an adhesive powder that will activate when it is melted in the oven. The powder sticks to the ink, and the excess can be removed so that it doesn’t cause sticky residue on the fabric.
- Oven – A separate, specialist oven that melts and prepares the adhesive powder for application onto the fabric is useful, especially as your production level grows. However, your heat press can do the job if needs be but be careful not to get excess glue on the platen as it will cause sticky or dark marks on the fabric.
- Heat Press – Heat activates the adhesive that applies the DTF transfer to the fabric. An iron can also be used if the demand isn’t too great.
Workspace
DTF printers are generally designed with a small footprint in mind, perfect for a home business or to be tucked away in a corner of the studio. To get started, you’ll need to consider the below elements.
- Print Station - A controlled and clean environment to handle the transfer process.
- Storage Space – Somewhere to keep transfer film, spare inks, and other materials.
- Post-production – An area to store printed designs, prepare for shipment, etc.
- Miscellaneous Tools – Tape measure, scissors, and a lint roller are all useful tools for getting the best results.
How to Print DTF Transfers
- Prepare Your Design: Use a program like Adobe Illustrator or CorelDRAW and size appropriately for your application.
- Export the File: Export a readable format (PDF or EPS), import it into your RIP and send it for print. Your design may need to be mirrored so that it appears correctly when transferred from the transfer film, which can be done in the print settings of VersaWorks 6.
- Print Your Design: Print your design directly onto the film, including a white layer if you are printing onto a dark fabric.
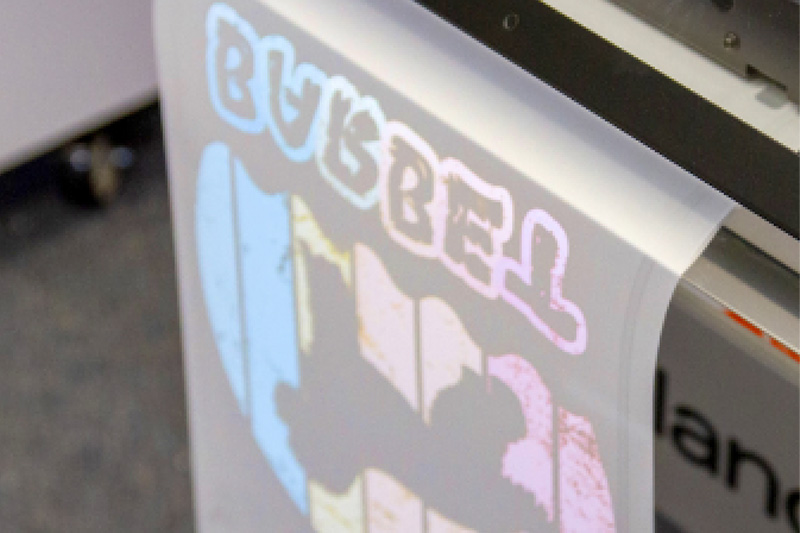
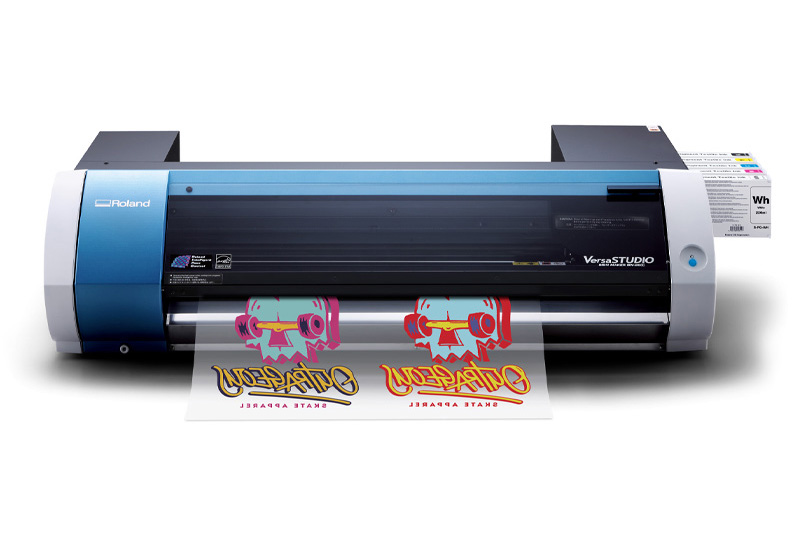
Print to film with the BN-20D and S-PG inks, on S-F164 transfer film. - Prepare the Transfer: After printing, liberally apply the adhesive powder onto the film and make sure it coats the entire printed area evenly. Remove the excess powder from the film by giving it a tap. Place the film in an oven or under the heat press to melt the adhesive. This usually takes around 2 ½ minutes. Ensure all of the powder has melted, it should look damp and tacky.
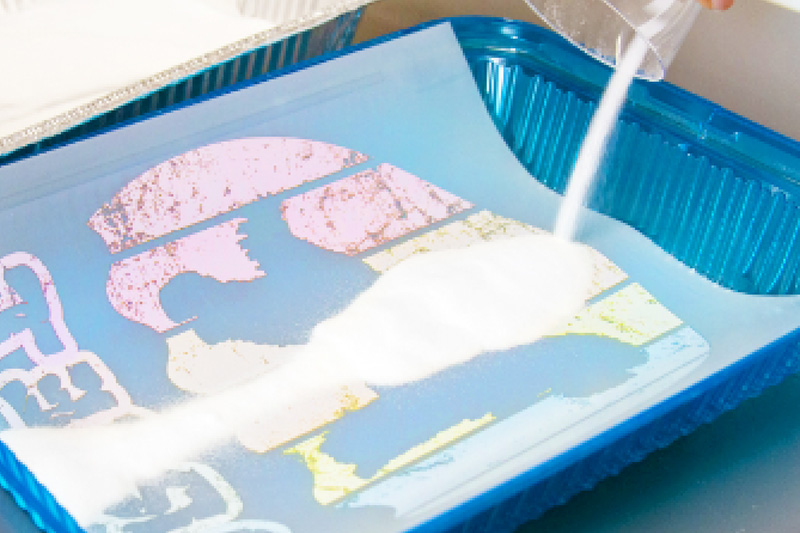
Apply the adhesive powder, making sure the ink is covered and the excess is removed - Prepare the Fabric: Ensure the fabric is clean, free from loose fibers and creases, and properly aligned on the press.
- Position the Design on the Fabric: Carefully position the design.
- Press Your Design: Preheat your press to the recommended temperature for your DTF transfer, usually around 150 degrees Celsius. Place a protective cover sheet over the fabric to prevent direct contact between the upper platen and the film. Apply the heat press with appropriate pressure and duration for the media. Typically, the recommended time is around 20 seconds.

Removing the film from the graphic - Peel and Finish: DTF film is either cold or hot peel; if it's cold, let it cool; if it's hot, start peeling. Peel slowly and evenly, ensuring proper adherence to the material. You can re-apply heat if any parts of the design lift when peeled.
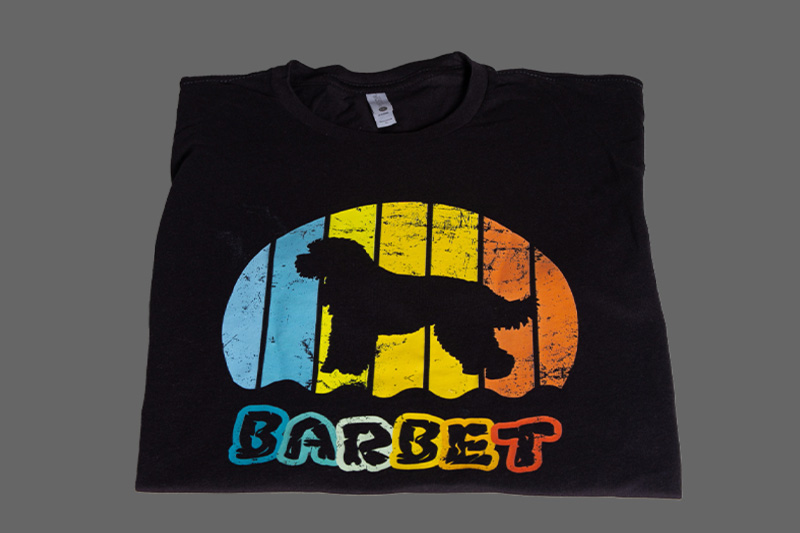
A black shirt with a dog on it after being printed with DTF
If you don’t want to apply the transfer to the fabric straight away, the film can be stored for up to a month before application without losing any significant image quality once the adhesive is cured. However, it must be stored in a place without humidity and with some protection sheets between the prints.
Conclusion
DTF printing is an ideal method of customizing t-shirts, tote bags, and other fabric items. In fact, there are lots of potential applications that we are still discovering, so there’s even more potential for growth.
If you’re looking for a way to add to your product range or if you’d like more information on anything mentioned in this article, please contact your Roland DG representative, or talk to an expert here.