The home décor market is full of intriguing opportunities for your personalisation business to take advantage of, whether you run a large professional set-up or craft as a hobby.
Wall stickers are popular with customers because they offer an easy and customisable way to spruce up their living spaces. They can transform plain walls into vibrant, unique canvasses that reflect individual personalities, interests, or even branding. They are also relatively quick and simple to produce, so are easily added to your product offering.
In this guide, we'll walk you through the process of crafting a wall sticker using a vinyl cutter and how to apply it to the wall.
What is a Vinyl Cutter?
A vinyl cutter, or plotter, is a device that accurately cuts letters or graphics out of adhesive-backed vinyl and other materials. Lots of personalisation businesses start out with a simple craft cutter before upgrading to faster professional devices as demand and the need to cut more materials grows.
Vinyl cutters are commonly used for creating stickers, decals, signage, and heat-transfer designs for clothing. The blade you use will depend on the material you want to cut as it will likely vary in thickness, texture, and toughness. Cutting with a dull or damaged blade won’t produce the high quality you or your customer is looking for so make sure you have a few spares available.
Ultimately, the questions you need to ask of your cutter are:
Is it wide enough for what you want to cut?
Is it fast enough to do what you need it to?
Does it have enough cutting force?
You can get a device that just cuts, or you can get a printer/cutter with dual functionality. Again, what you ultimately plan to produce will determine the device that is most suitable. There are benefits to both, so read our guide on whether you need a printer/cutter or separate devices here.
Adobe Illustrator and the Roland DG CutStudio plugin
The Artwork
We looked online to find some design inspiration and found that custom quotes and names were particularly popular with customers, as well as being easy to produce with a single roll of vinyl. Simple but eye-catching graphics also featured heavily, so we decided to create a two-tone flower wall sticker for a little added complexity, where we would cut the stem from black vinyl and the circles from pink vinyl.
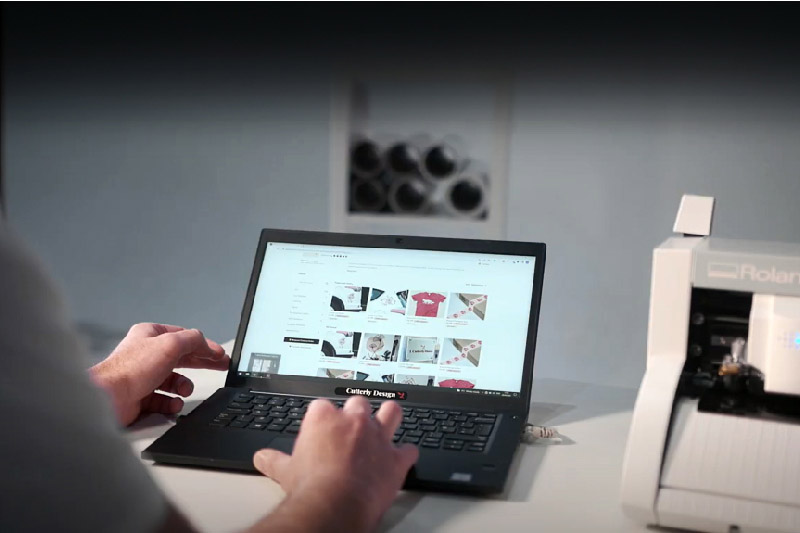
A person researching options using a computerTip: In general, you want to use as few nodes or paths as possible to ensure that the cutter can move in a nice smooth pattern and produce a clean cut. Functions like 'simplify' in Illustrator help with this by reducing the number of nodes.
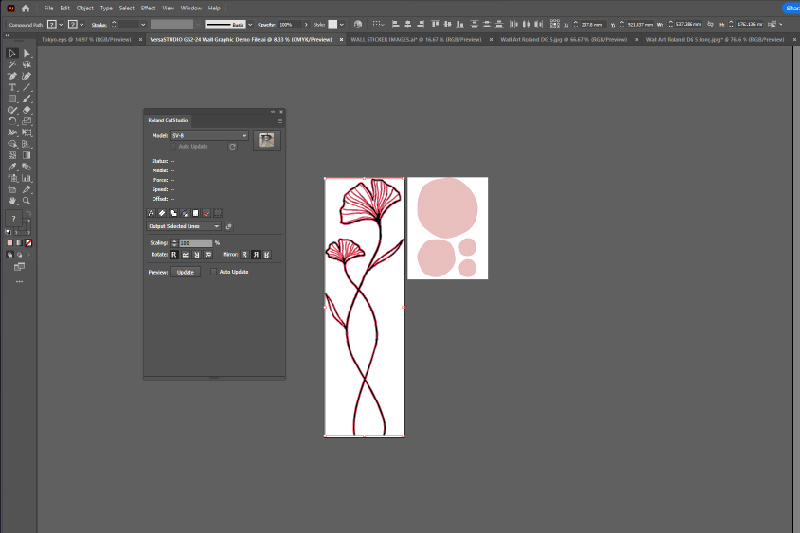
Next, we measured the wall the sticker was to be applied to so that we could set up our design file. The design software you use is entirely up to you, with CorelDRAW and Roland DG’s dedicated cutter software, CutStudio, both up to the task, but we used Adobe Illustrator which contains a plugin for that helps to streamline the process.
As the final wall sticker would be cut from two different pieces of vinyl, we created two artboards, one with the black stem and flower, and the other with three pink circles. These artboards were set at 100% so that the designs would be at the right size when cut rather than having to worry about resizing them later.
The CutStudio plug-in can also help with tasks like this as you can set it to only cut items of a specific colour or the elements that you have selected, but we chose to separate them for the purposes of this demonstration.
A view of the artwork in Adobe Illustrator and the CutStudio pluginTip: If you use CutStudio to edit your artwork, you will need to export the design file as an eps file and save it as an “Illustrator 8 EPS” so that CutStudio can read it.
Preparing the Cut
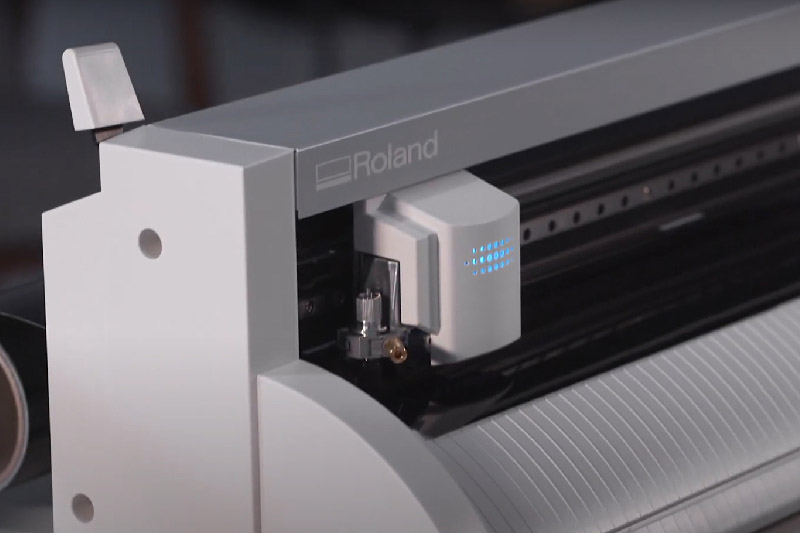
We loaded the GS2-24 with our roll of black vinyl to produce the flower stem cut, ensuring that it was loaded straight and that there was enough to produce the entire length required. Once loaded, the machine automatically calculated the media width. It does this by reading the distance between the two pinch wheels that hold the media in place.
A close up of the GS2-24 vinyl cutter in action
We performed a test cut to ensure that the cutting force was set up correctly for the media we were using. It was a standard vinyl, so no additional calibration was required. When we were happy that all the settings were correct, we began the cut. The cutter's blade follows the design's outlines, cutting the vinyl but not the backing.
These steps were repeated with the second file after changing the media to pink vinyl so that we could produce the circles.
Applying the Sticker to the Wall
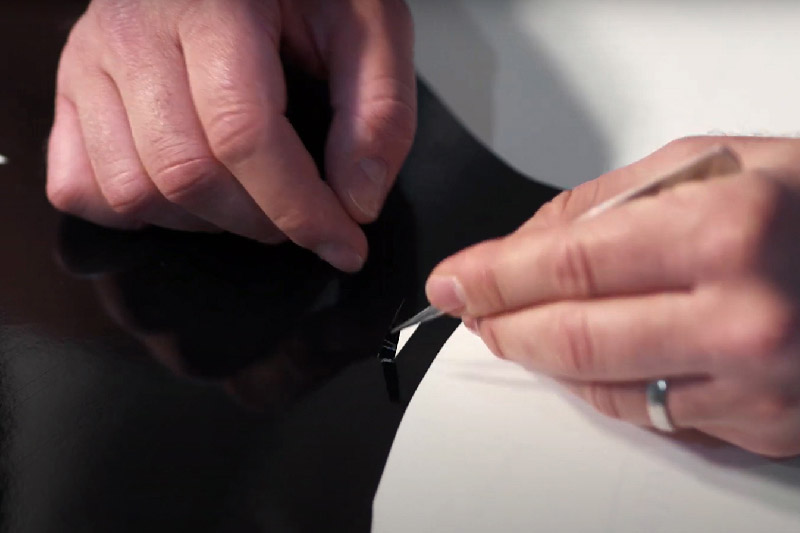
Once the cut was completed, we used weeding tools to carefully remove excess vinyl from the backing sheet, revealing the design. Weeding the circles was a simple process as they were round with no intricate pieces to contend with. The black vinyl stem needed a little more care, but there was nothing too troublesome to risk damaging the vinyl by tearing it. The more intricate the design, however, the more patience is required.
A person weeding the black vinyl flower stem
What we were left with was the vinyl that would become the wall sticker. To make the application easier and to reduce the chance of error, we applied an adhesive transfer tape that would allow us to remove the vinyl from its backing. The tape was placed over the design and pressed down with plenty of force using a squeegee for better adhesion. We took extra care to make sure there were no air bubbles between the tape and the vinyl that could warp the design.
Using a squeegee to apply the application tape to the vinylTip: The transfer tape should have a stronger bond with the vinyl than the vinyl has with its backing so that the vinyl transfers to the tape. If not, the vinyl will stay on the backing. However, if the bond is too strong, you could risk tearing the vinyl or pulling paint off the wall, so it’s worth doing your research first. A clear transfer tape will allow you to see where you are putting the sticker, useful if there is more than one sticker like in our design.
We made sure that the area by the wall was clear so that there was plenty of room for us to apply the sticker. We also made sure the wall was clean, using a brush to remove any dust or dirt that could get trapped behind the sticker. Lastly, we marked where each sticker should go lightly with a pencil.
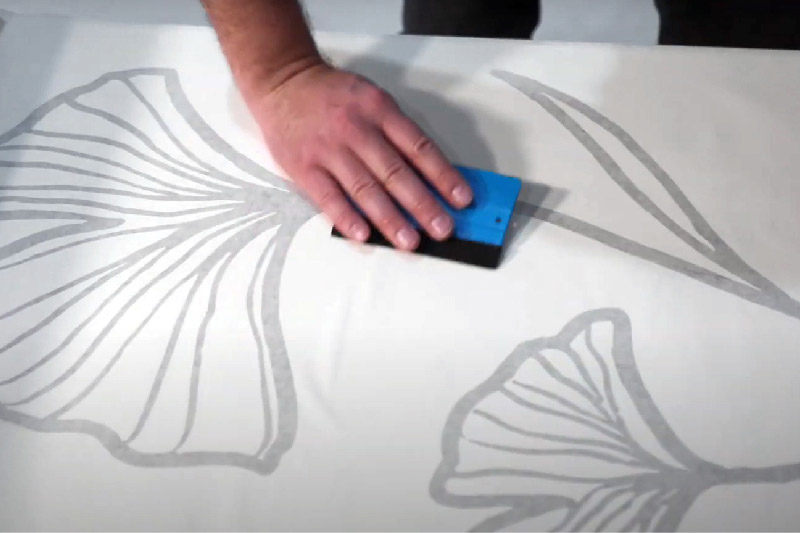
We stuck the circles to the wall first, again using a squeegee to take out any air bubbles from between the wall and the vinyl. Then we applied the stem sticker on top using the same process, taking extra care with the more intricate pieces.
Removing the application tape from the wall
And that was all there was to it! The completed sticker looked great on our wall.
A wall sticker with a flower design
Points to Consider
Practice makes perfect. Experiment with smaller designs and various vinyl types before creating a larger wall sticker.
Store unused vinyl rolls or sheets in a cool, dry place away from direct sunlight to maintain their quality.
Conclusion
Designing and creating wall stickers using a vinyl cutter is an easy way to enhance a living space. You can turn your vision into a stunning wall decoration with careful design, precise cutting, and proper application. Installing stickers is relatively simple if you have the correct tools, so you could provide your customers with an install service or simply sell the final product.
If you’d like more information on anything mentioned in this article, please contact your Roland DG representative, or talk to an expert here.