
If you’re looking for a great way to make money, the world of printed stickers is filled with opportunities. It’s not just kids looking for fun decals to decorate their lunchboxes – stickers encompass everything from promotional giveaways to product labels and are in high demand from companies of all sizes.
A popular method of producing stickers is to print designs onto an adhesive material, like vinyl, then cut the outlines out using a cutting plotter. These machines can cut even complex outlines with extreme accuracy. In this article, we’ll talk you through how to use a cutter in a print-then-cut workflow.
Equipment used:
- VersaSTUDIO GS2-24 vinyl cutter
- VersaSTUDIO BN2-20 printer/cutter*
- White adhesive vinyl
- Adobe Illustrator
- VersaWorks RIP
* Although this device can also cut, we will use only the printing capability for the purposes of this demonstration.
The Artwork
- We kept the design simple for this application. Here, we produced branded stickers for a fictional company called Cutterly. For variety, we included different shapes and colors.
- With the designs created in Adobe Illustrator, we then added cut lines on a separate layer. We assigned a special process color to the stroke color, ensuring that the VersaWorks RIP could interpret which areas should be cut.
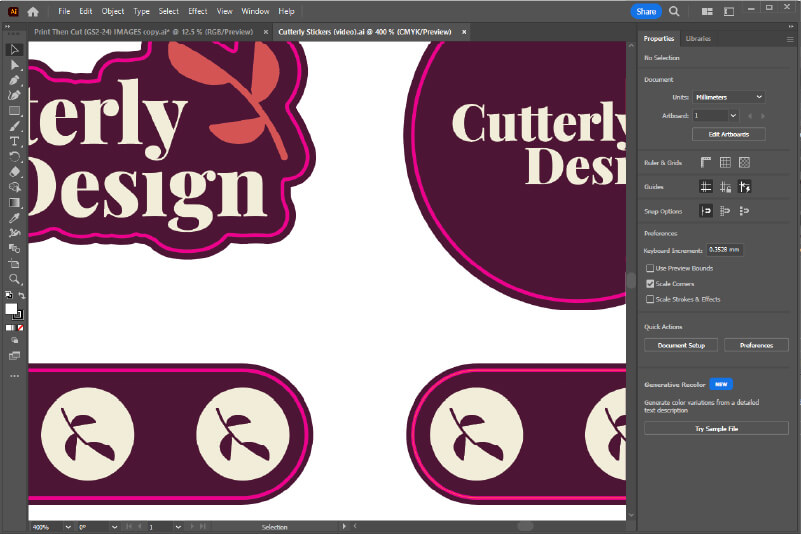
Sticker design in Adobe Illustrator with cut lines and bleed area - With any cutting job, it’s a good idea to include some bleed in your designs. Bleed refers to an excess of colored area which extends beyond the cutline. Although the GS2-24 has great cutting accuracy, it’s always wise to allow a margin for error to ensure that no white sections appear around the cut area.
- With the design completed, we saved the document as a .PDF, ready to be imported into VersaWorks.
Printing the Stickers
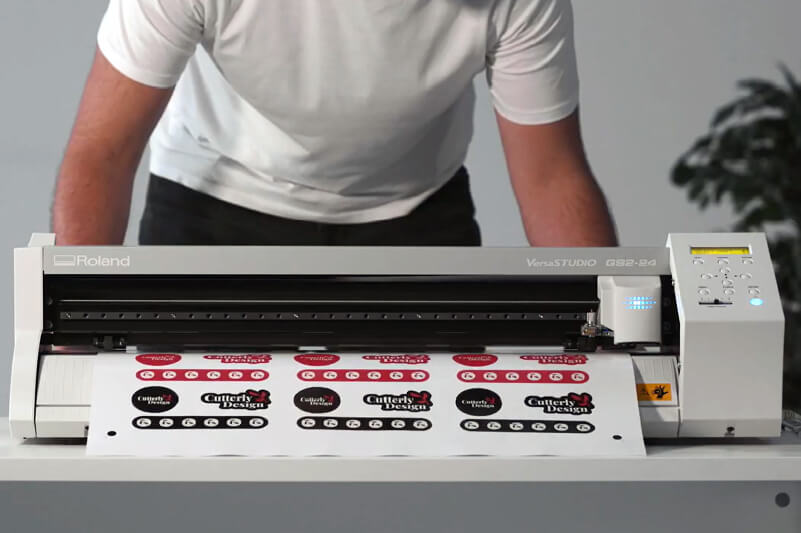
- For this application, we used the VersaSTUDIO BN2-20 printer/cutter. Although this device can cut stickers, it can be useful to print and cut on separate devices at times when you need to maximize your productivity, allowing the printer to continue printing while the cutter cuts.
- We first brought the PDF file into the VersaWorks QUEUE for the BN2-20 product. Then we navigated to the ‘Cut Controls’ menu and set the cut option to ‘Print Only’.

Adjusting VersaWorks cut settings to 'print only' - Once we confirmed the Cut Controls settings, we then opened the ‘Mark’ menu. In this area, we were able to add registration marks to the artwork which would later be read by the cutter.
- Now that we were satisfied with the setup options, all we had to do was press ‘print’.
- When the print was completed, we had to run off roughly 80 mm (3”) of media before trimming the job from the roll. This additional media is important as it ensures that the GS2-24 can read the crop marks properly.
Cutting the Stickers
- Before setting up the job in VersaWorks, we loaded the same media into the GS2-24 and performed a test cut, then calibrated the cutting force to ensure that the blade would cut the vinyl completely without also cutting the backing sheet.
- With the calibration completed, we loaded the printed sheet into the GS2-24. When you do this, it’s important to load the print perfectly straight, thus ensuring the sensor on the cutting carriage can read the crop marks at both sides of the vinyl. Also, ensure that the entire graphic, including the crop marks, sits inside the space between the pinch wheels.
Loading printed sheet into a desktop cutter - Moving over to the PC, we dragged the same print job from the BN2-20 print queue and dropped it into the GS2-24 queue, thereby retaining the settings between both jobs. We opened the file to make sure VersaWorks was picking up all the cut lines and, when we were happy, we set it to start cutting.
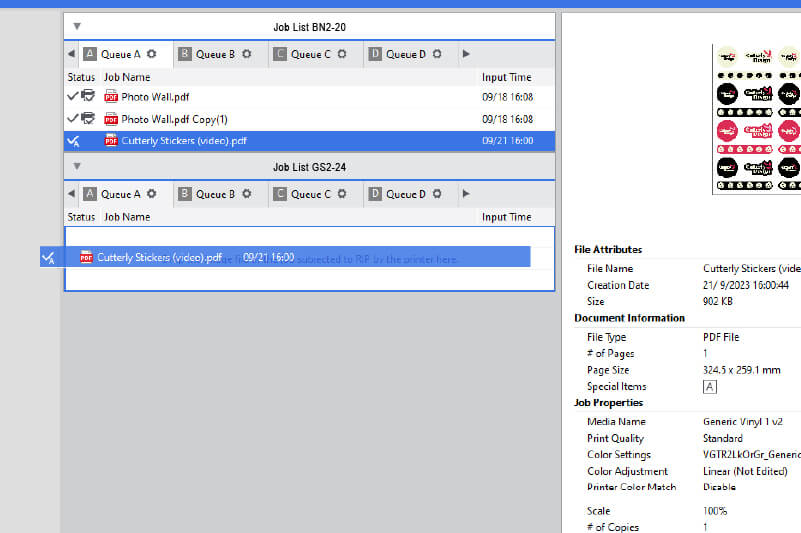
Dragging a file from one queue into another queue - If you get this far and the cutting process fails to start, remove the media from the cutter and reinsert it, taking extra care to ensure the registration marks are aligned perfectly straight.

A vinyl cutter reading printed registration marks
Conclusion

If you want to produce stickers faster than using a printer/cutter on its own, printing and cutting on separate desktop devices is a simple alternative, but there are several other ways to make stickers using digital equipment. When you’ve got the hang of it, there are several ways to make money with stickers, all the more reason to give it a go.
See our page on sticker printing to learn more or get in touch with a Roland expert who’ll gladly help you choose the best option for you.