One of the great things about buying a vinyl cutter is the variety of different heat-transfer vinyl available. Once you realise that you can buy more than just single-coloured vinyl, a whole world of possibilities opens up, from glitter effect to pre-printed leopard skin and beyond.
Flock vinyl is very popular as it adds a level of texture to custom t-shirts and other garments. If you have a cutter with adequate cutting force, there’s nothing stopping you from adding flock t-shirts to your product line.
Equipment used:
- VersaSTUDIO GS2-24 vinyl cutter
- White flock HTV (heat-transfer vinyl)
- Adobe Illustrator
- Roland CutStudio
The Artwork
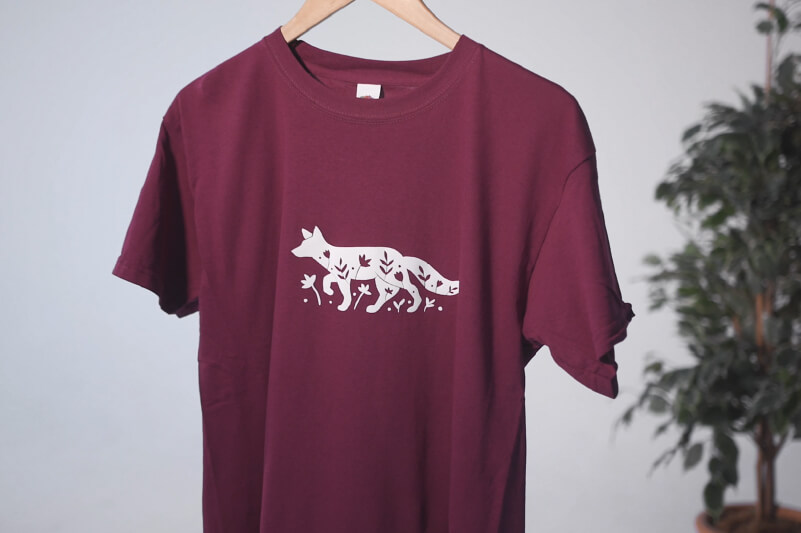
- After looking around at the types of custom t-shirts available, we settled on a simple graphic featuring the outline of a fox, which we downloaded from an online stock image library.
- Because the material is thicker than typical vinyl, we knew that it would be more difficult to weed. We factored this into our decision, taking care not to choose anything that included very fine details.
- We didn’t need to amend our design in any way, but we needed to open it in Adobe Illustrator and save it as an .EPS file, selecting ‘Illustrator 8 EPS’ from the version drop-down. This ensures that CutStudio can read the file without any unexpected compatibility issues.

Cutting the Flock Material

- Next, we loaded the flock material into the vinyl cutter and performed a test cut. As the material was thicker than usual, we had to adjust the cutting force to ensure that the blade would cut all the way through without also cutting the backing sheet.
- We used Roland CutStudio to process the instructions for the cutter. We simply opened CutStudio, and imported the .EPS file we’d saved earlier. After checking the cut settings matched what we’d expected, we clicked ‘ok’ and the cutter started the cut job.
- When the cutting was complete, we trimmed the design from the roll and started weeding off the excess. If you are attempting this, be sure to take extra care as this can be trickier than weeding the normal vinyl you might be used to.


Applying the Heat-transfer Flock Design
- We used a clamshell-design heat press to fix the flock onto the fabric. For this application, we set the temperature at 153°C (~307°F) for 14 seconds and, once it had reached the correct temperature, we pressed the T-shirt for a few seconds to warm the fabric and remove any creases.
- With the T-shirt still on the platen, we placed the cut and weeded design where we wanted it and locked the press in place for the required duration. When the time was up, the flock pattern was firmly affixed to the T-shirt.


Conclusion

Producing custom garments using precision-cut flock vinyl demonstrates the versatility of professional vinyl cutters. Not only can you create simple designs with coloured vinyl, you can experiment with all the different patterns, textures and finishes available in the range of heat-transfer materials.
This is only one of the methods of printing custom T-shirts that digital printing and cutting technology offers. You can even use a printer/cutter to print photo-quality graphics onto heat-transfer vinyl or invest in a DTF printer to cut out the weeding process.
See our page on T-shirt printing to learn more or get in touch with a Roland expert who’ll gladly help you choose the best option for you.